Tatting: Making a shuttle from clay
I picked up shuttle tatting as a craft sometime during Covid and have been rocking a set of plastic Clover shuttles since then. I’ve not done must crafting using clay, but have been curoius with air dry clay after watching some YouTube videos on the topic (last time I did a clay project was back in school art class doing smaller things where there was access to a kiln), I decided to test creating a simple shape for a tatting shuttle.
For paint I grabbed some acrylic we had in the house which seems to have neen quite low grade as it didn’t stick too well to the dried surface and did not agree with the brand of varnish, leaving it with a slightly tacky and sticky surface and peeling paint.
Crafting the shuttles
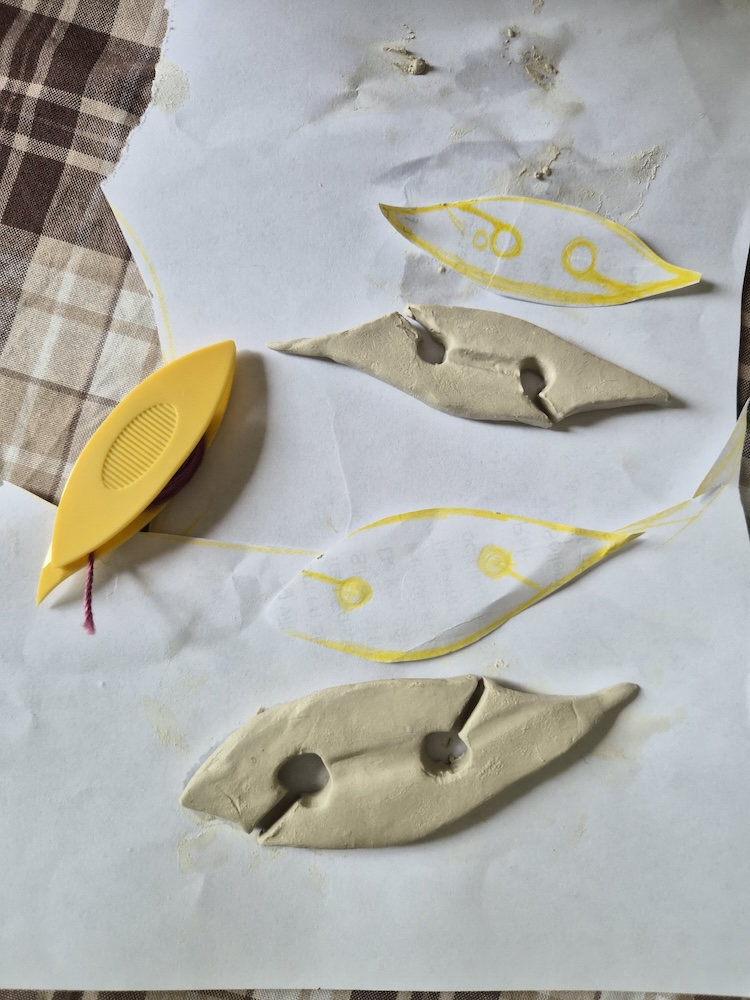
- I took the Clover tatting shuttle as a base model and drew the shape on a piece of paper and cut out the shape. I redid he same thing but upscaled a second piece to make a slightly bigger size. In the cutout I also pencilled in where the slits to wind on yearn should be and enough space to make room for yarn.
- I took a piece of clay and rolled it flatter, but thick enough to hold comfortably and laid the stencil on top, cutting out the shape
- Using a plastic straw, I stuck it through to create the holes where I wanted the yarn to wind and cut with a small knife to make the slits
- I made small indentations in a “channel” between the two holes to allow more yarn to be wound before getting too bulky
- Smoothed out with water
- Left to dry for about 5 days (didn’t need that long, I just didn’t have time before!)
- Sanded the surface to smoothen it
- Painted and left to dry for 3 days
- Applied two coats of varnish, waiting 3h between coats
- Used them for tatting!
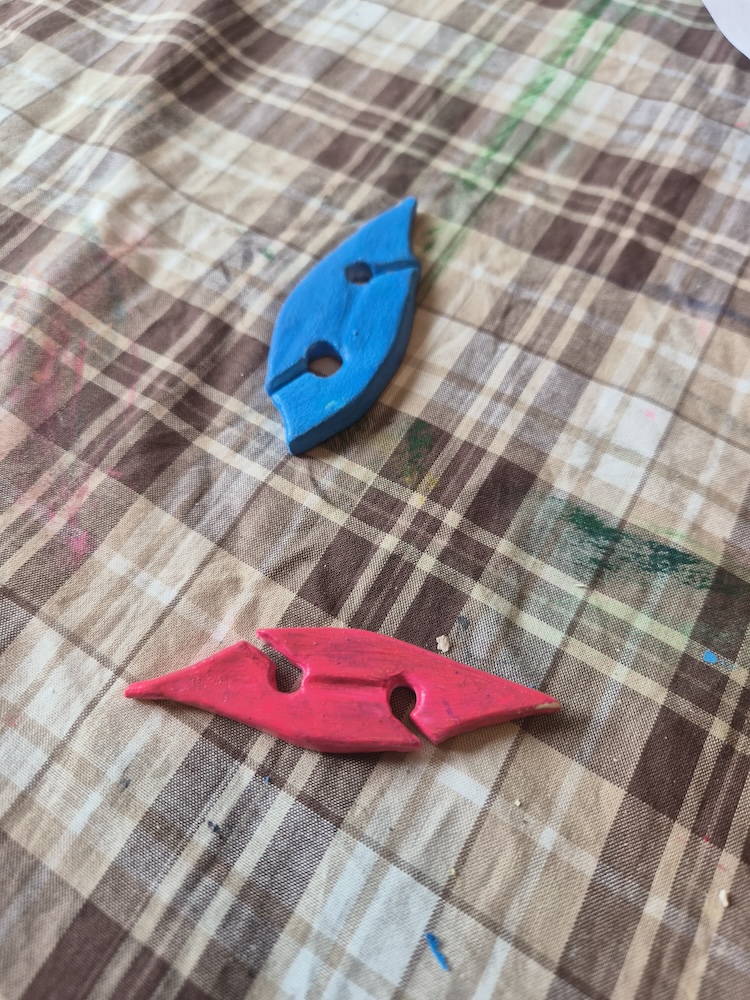
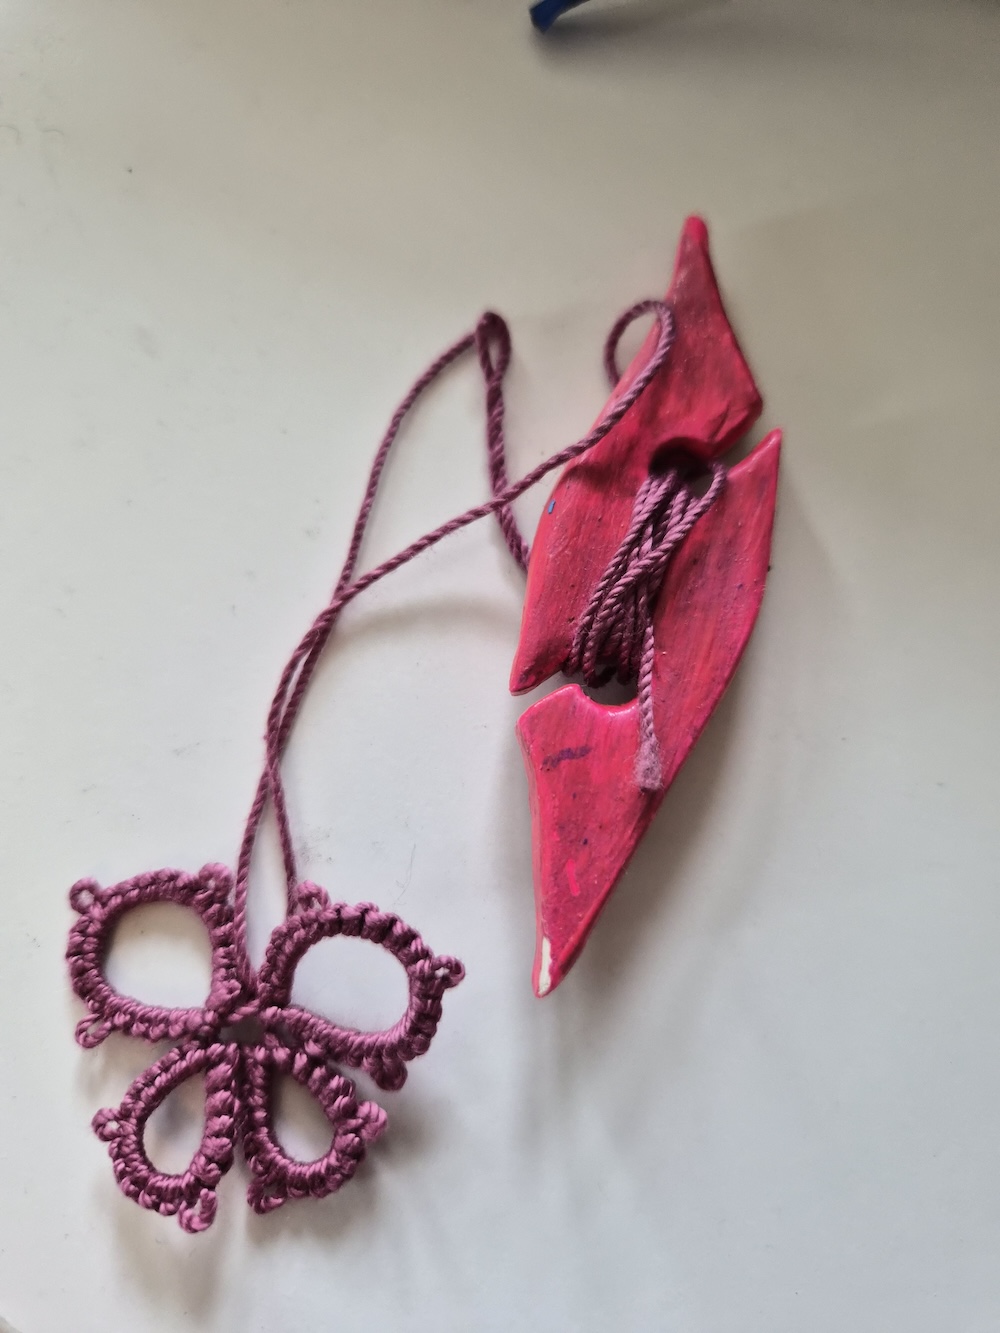
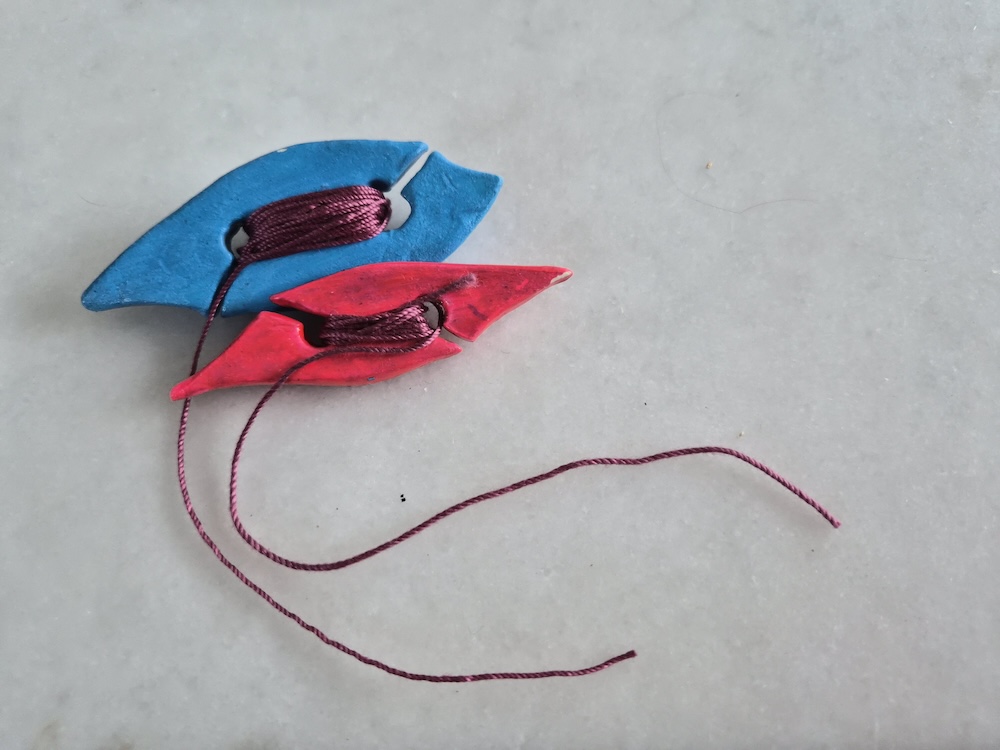
Using them for tatting
Both worked as intended, I had a slight preference for the bigger model as the edges were smoother compared to the smaller one with pointy ends. I tried making a thin stick for catching thread through a picot but it was too brittle and broke before painting, so I had to use a crochet hook for those elements.
The channels used to wind thread around were a bit too wide and frequently got caught as I was passing the shuttle, so I couldn’t go particularly quickly.
Something in the shape of it being turned to it’s side compared to a regular store bought shuttle also meant I held it at an awkward angle compared to how I’d usually hold a shuttle (flat) and can’t figure out if it was the unfamiliar way the thread is wound or something with its appearance. More tatting is necessary to find out.
Tatting technique
Tatting is basically creating a series of knots on a looped thread, and pulling the loop close once the desired number has been achieved. To make litte picots (looks like a tiny loop sticking out of the loop with knots on it) you create a regular pair of knots but leave a bit of space to the knot that came right before. When they are pulled tight this extra thread will become the picot.
I’m right handed.
Left hand holds the loop where the knots are created.
Shuttle in the right hand. The basic movement is to make the shuttle dive in under the loop thread, back out over it and down into the loop that was just formed on the shuttle thread. The second knot is then done by jumping above the loop thread and backing out under and through the loop that was just formed on the shuttle thread.
The tricky bit is “flipping the knot” so the thread leading from the shuttle to the tatting is kept straight (this allows the knots to be pulled tighter later). Keeping the shuttle thread slack and tugging on the loop thread will usually work.
Professional tatters use some kind of fancy manouver with holding the shuttle differently for one of the half knots, but I’ve not been able to get that method to work so hope this simpler method works for others in a similar position.