Filet lace basics: learning how to tie a net
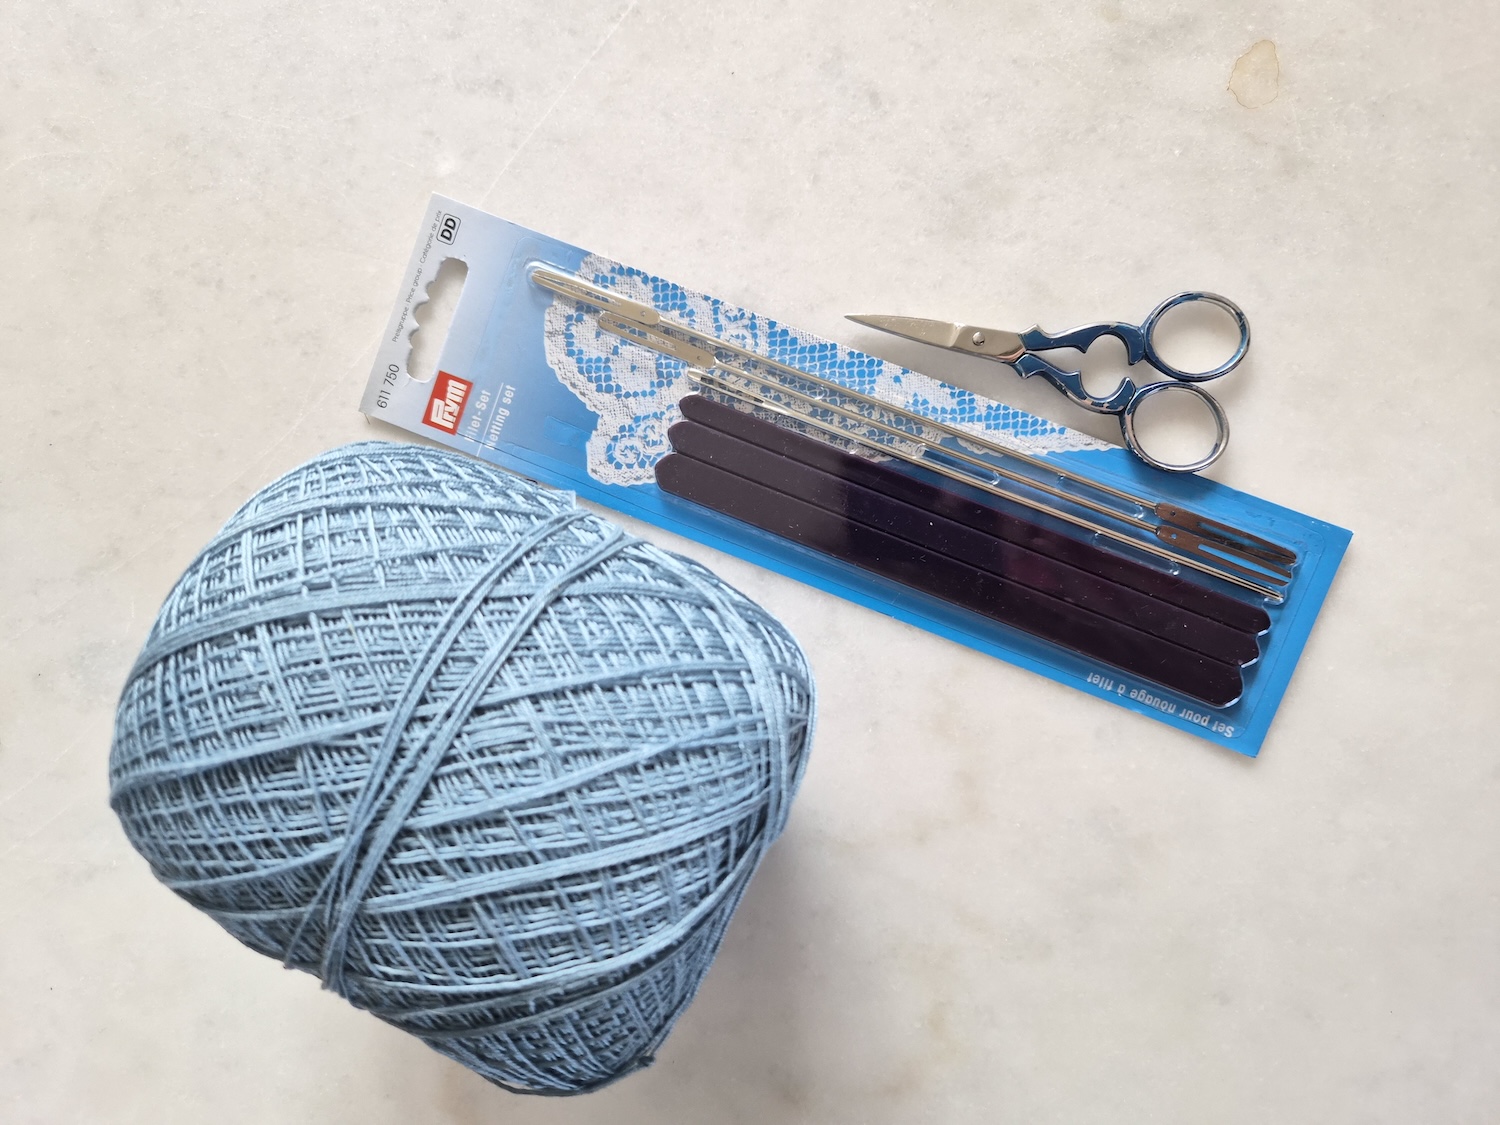
- Tool: Filet lace kit bought at Nordic Design
- Yarn: Some kind of thin cotton yarn from my yarn stash
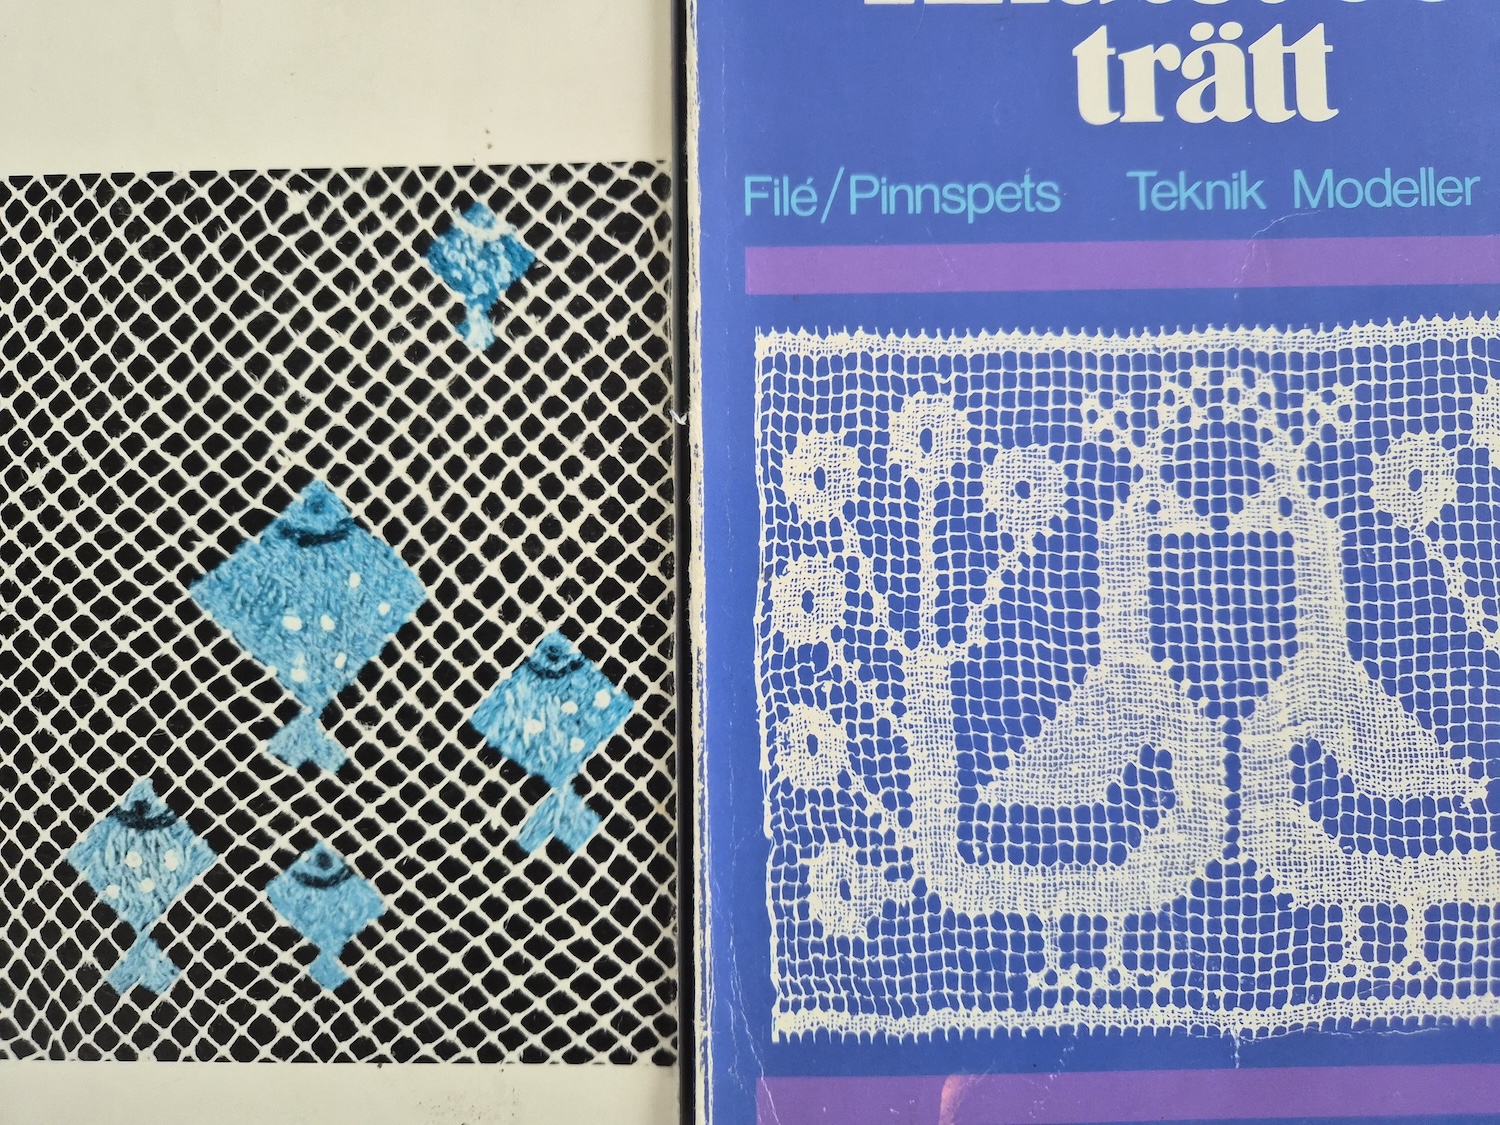
I got started with this after buying a booklet at random from an online auction. It was title Filet och pinnspets (English title: Filet and stick lace) which is a correspondence course from 1973 made as material for a study circle. Shortly afterwards I picked up a second title, Knutet och trätt (English title: Knotted and threaded) from the same decade, also made for study circle guidance material that covered the same basic techniques with some complementary instructions and other examples of completed works using the method.
To my delight, I also snagged a 100-year old print of photographs of Swedish “stick lace” examples! It’s lovely seeing the final works in all three books as you get to explore materials and techniques.
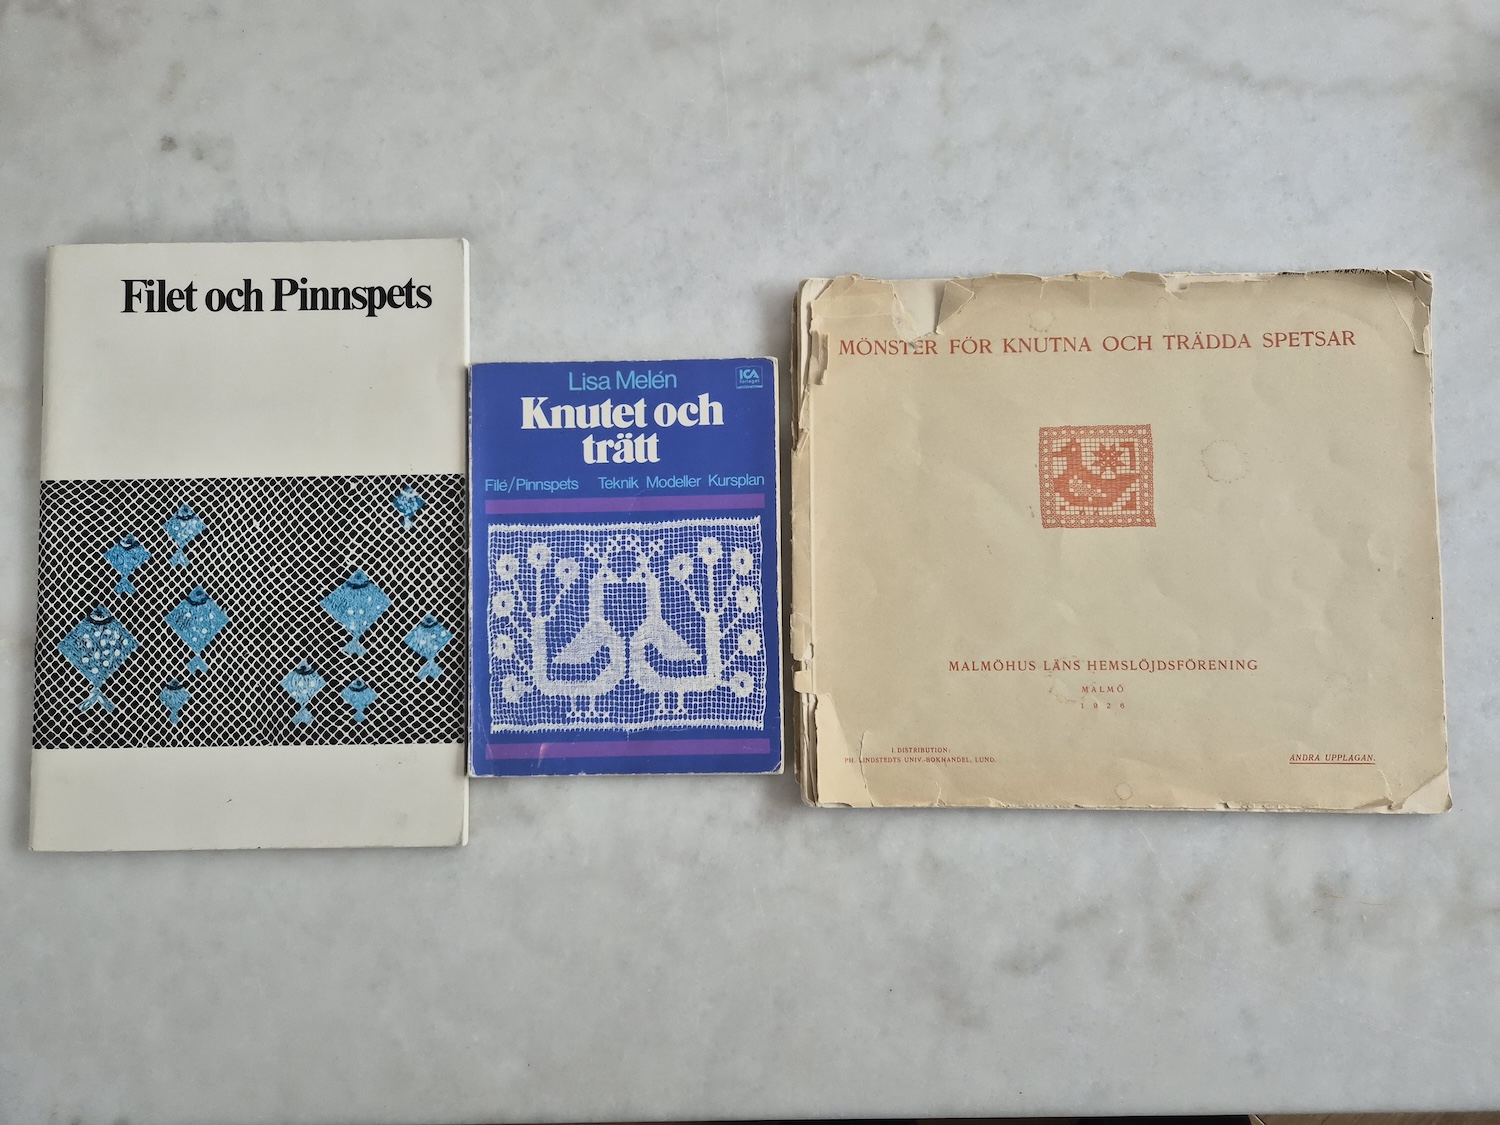
Filet lace, pinnspets and “tied and threaded” differences
In Swedish works and other books referencing the technique I can find three closely related terms:
- Filéspets or Filetspets - Filet lace
- Pinnspets - Literal translation would be stick lace
- Knutet och trätt - Literal translation would be tied and threaded
All three terms refer to a bottom net that are tied using a method you also see for tying fishing nets, but at a smaller scale. While fishing nets are generally tied in two motions (creating the loop, securing the loop), the filet lace net loop is tied in one motion (only passing the shuttle once to create and secure the loop).
What elevates the handiwork from a mere net to a craft is the threading. You embroider on top of the netting to create shapes/patterns. This is the filet lace. There is technique/pattern for crochet called crochet lace which is reminscent of the final results.
As per usual, it seems like there are local variations of filet lace across Europe (I found a short French TV-segment on Youtube I understood little of, but appreciated the showcase of local filet lace practices) where once difference is the use of colours, size of the squares in the bottom net and how the lace is used. French example was all white, whereas Swedish examples use colour a bit more for their motifs.
Worth noting is that there are some examples in the learning material I’ve found of table cloths being tied in the round where different sizes of dowels have been used to make the loops in alternate sizes, thus creating patterns. These are also included in this tied and threaded category.
Filet lace no matter the region seem to have in common that it’s always worked on a net oriented so the netting is square. The pinnspets (stick lace) method on the other hand places the netting so the threading is done on a netting that is placed diagonally. The net itself can have any shape. Round, square, rectangle, it doesn’t matter. The motif and orientation of the loops/hoops/holes is the main differentiator.
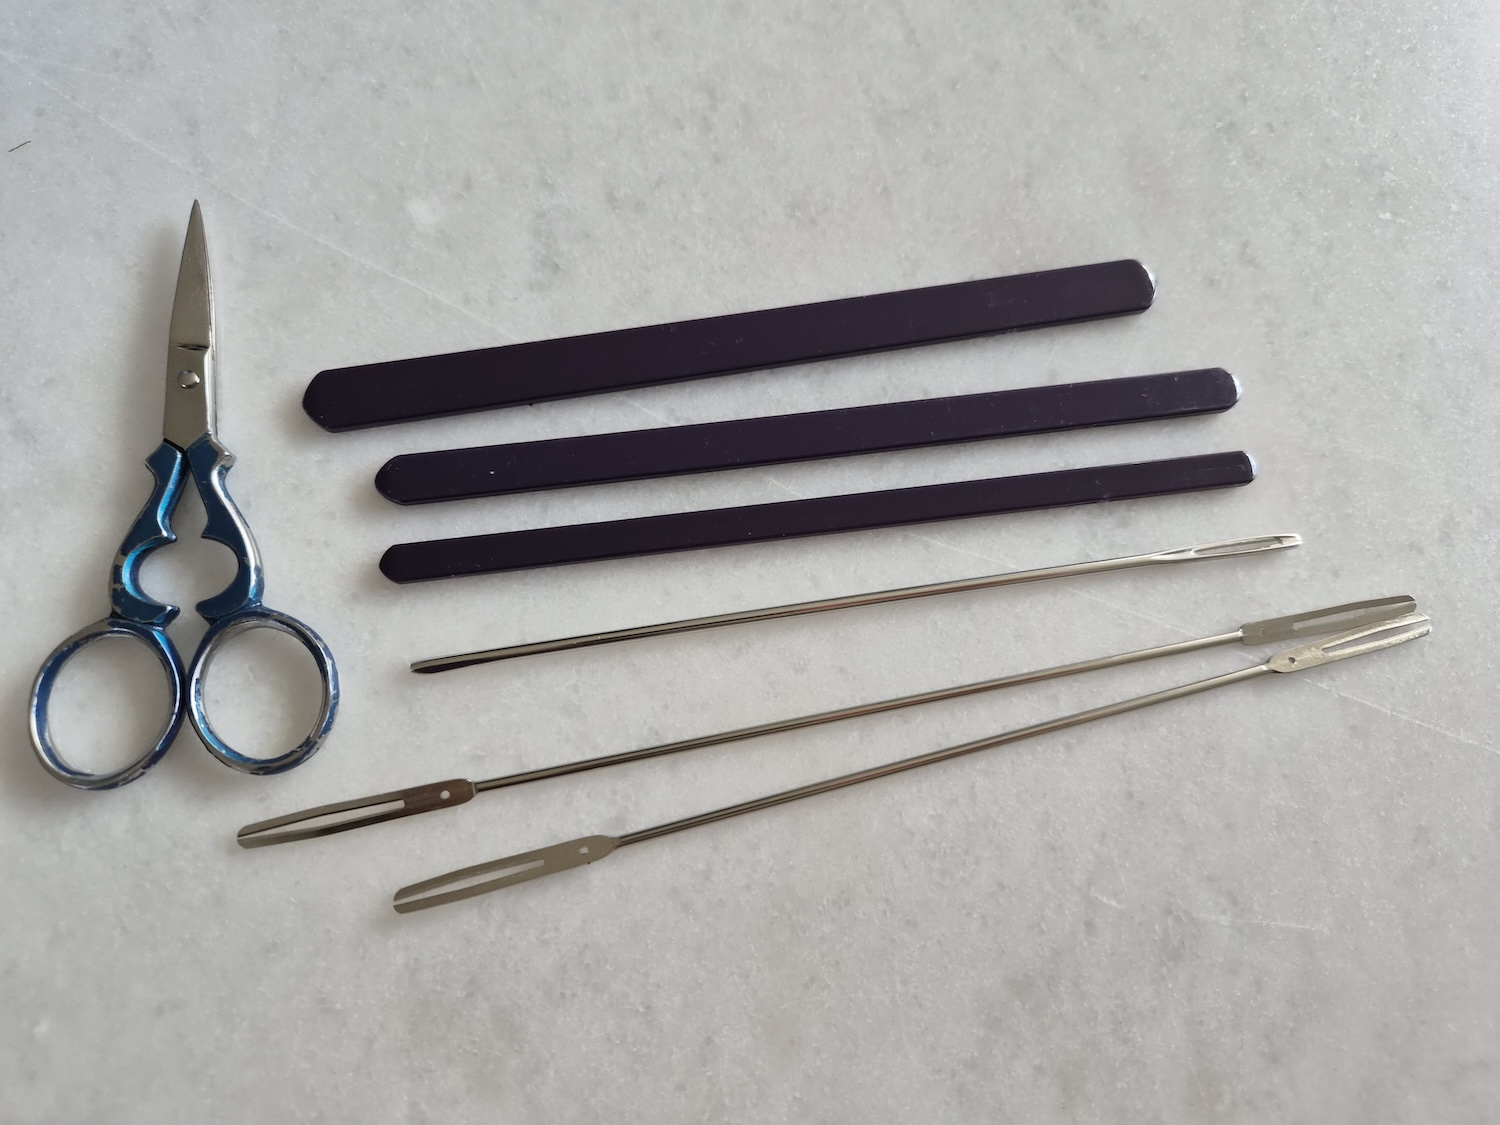
Toolkit
I was sweating quite a bit trying to hunt down the filet lace making kit necessary to produce the dainty bottom netting. I had a go using ice lolly sticks cut in a way to use as a makeshift shuttle, but it was too thick to comfortably pass through and create the loop and knot. I finally found a Swedish-based webbshop that sells filet lace making kits, made by Prym.
Tying the net
This took a while to get the hang of. There are some wonderful instructional videos on YouTube (links shared at the end of this post) that helped me along, but I also had two books on the topic to speed me along. These were helpful for undersanding how to increase and decrease to create different shapes of the netting.
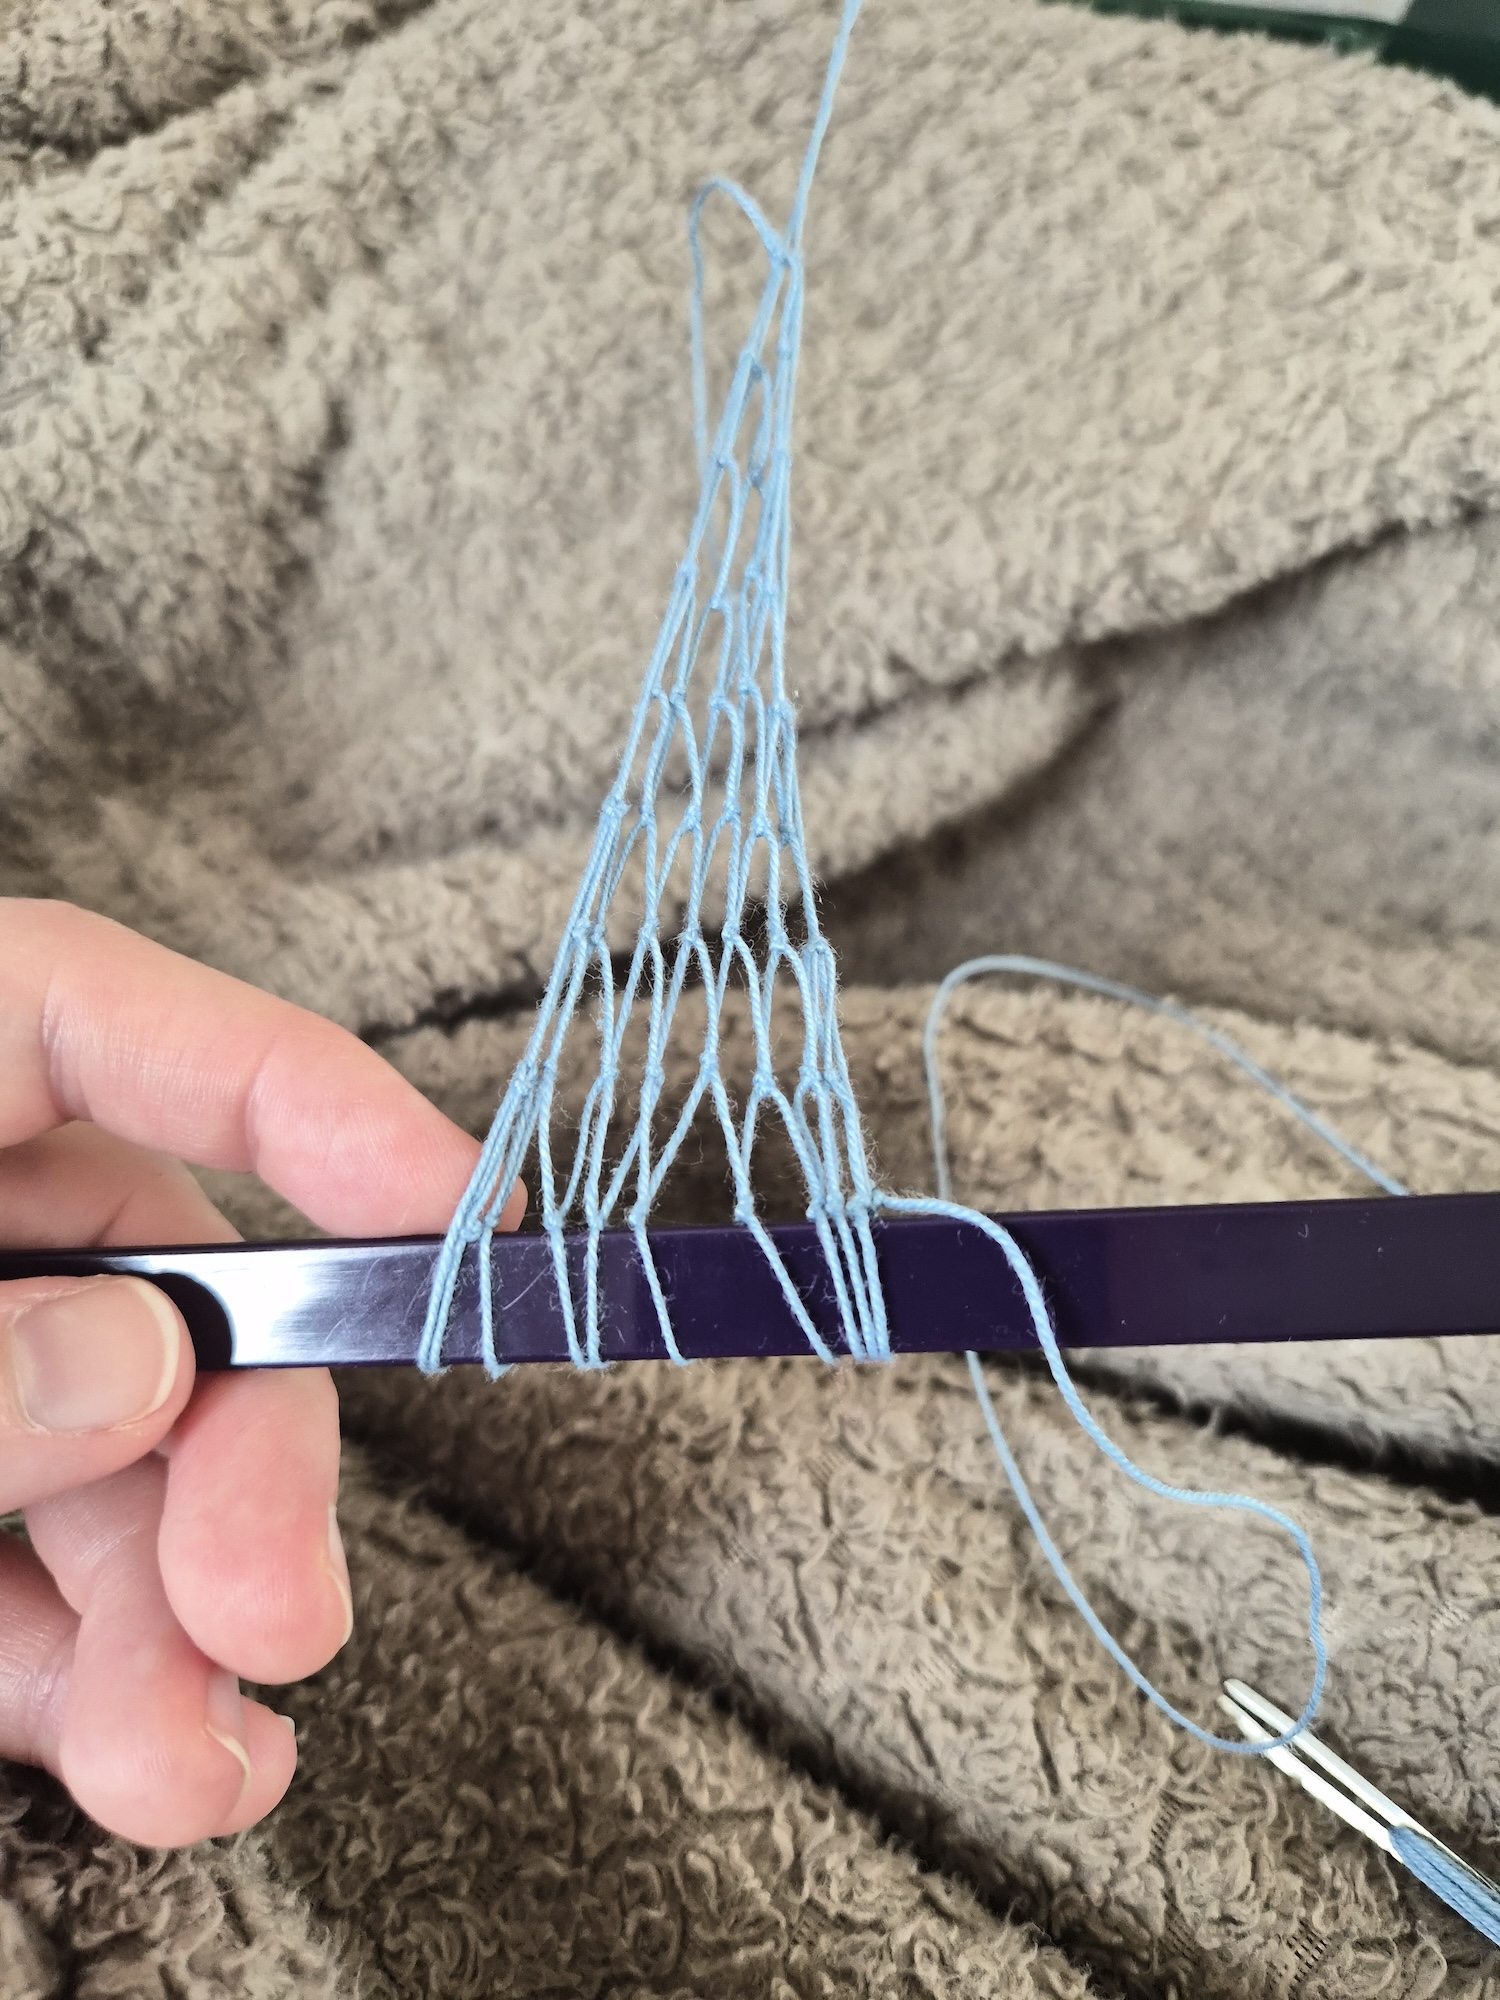
The first couple of attemps were just tiny knotted messes, and I threw them away.
After a while I did make somewhat of a square shape, and for the second attempt I fared even better.
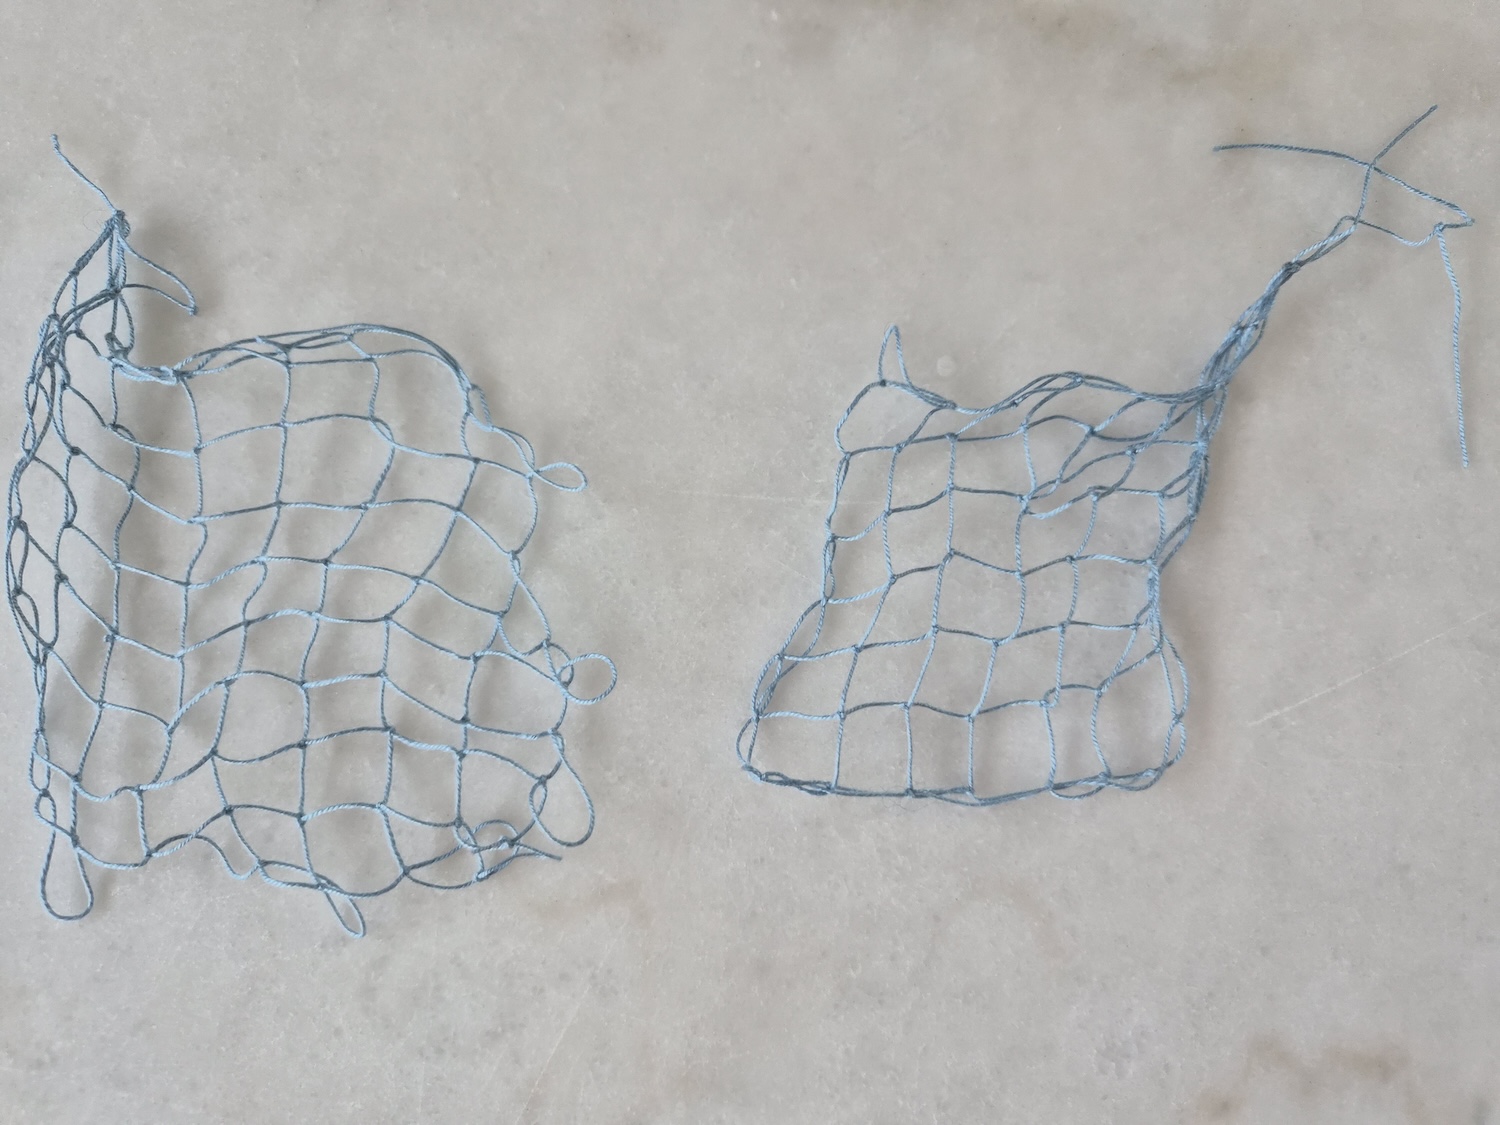
The next attempt went even better, and I experimented with decreasing in a way to achieve a rectangular shape. Below is a video of adding a loop to the dowel and tying it. Most video instructions I’ve found are from the top view, meaning you see clearly what the dowel is doing but not totally clear how the fingers work the yarn.
Some technique insights/pointers that personally helped me figure out what is going on:
- Move the shuttle and yarn above the dowel, swooping under to come back up
- Catch the thread on your ring finger
- Pinch the yarn above the dowel
- Bring the shuttle via the back down to the ring finger loop
- Make sure to leave a long running thread between the pinch by the dowel and coming round to the loop, as not having this will cause the knot to fail
- Pass through the shuttle thorugh the ring finger loop and the loop from the previous row (the shuttle peaking out from passing through both loops has the long yarn from previous step on the side furthest away from you)
- Catch the yarn on your pinkie
- Release the ring finger loop and pull tight
- You are using the pinkie loop to regulate where the knot will be placed
- Release the pinkie loop and pull tight once you have positioned the knot properly
Before creating a pattern on top of the netting base, the instructions I’ve found calls for strengthening the yarn and stretching it out to have a more even shape. The rectangular net in the picture below for example is slightly slanted from the constant tension fron the starting point (seen in the bottom left corner). I added yarn in contrasting colour to pull it to even it out, but it is clearly not enough to even out the shape and build tension for threading.
One instruction talks about submerging the net in lukewarm water with gelatin, so it stiffens as you stretch it onto a frame for the threading. I’ll give it a try with agar agar instead (animal friendly option), and make a comparison with other starches like cornstarch slurry or simple flour in water to see which method works best for me.
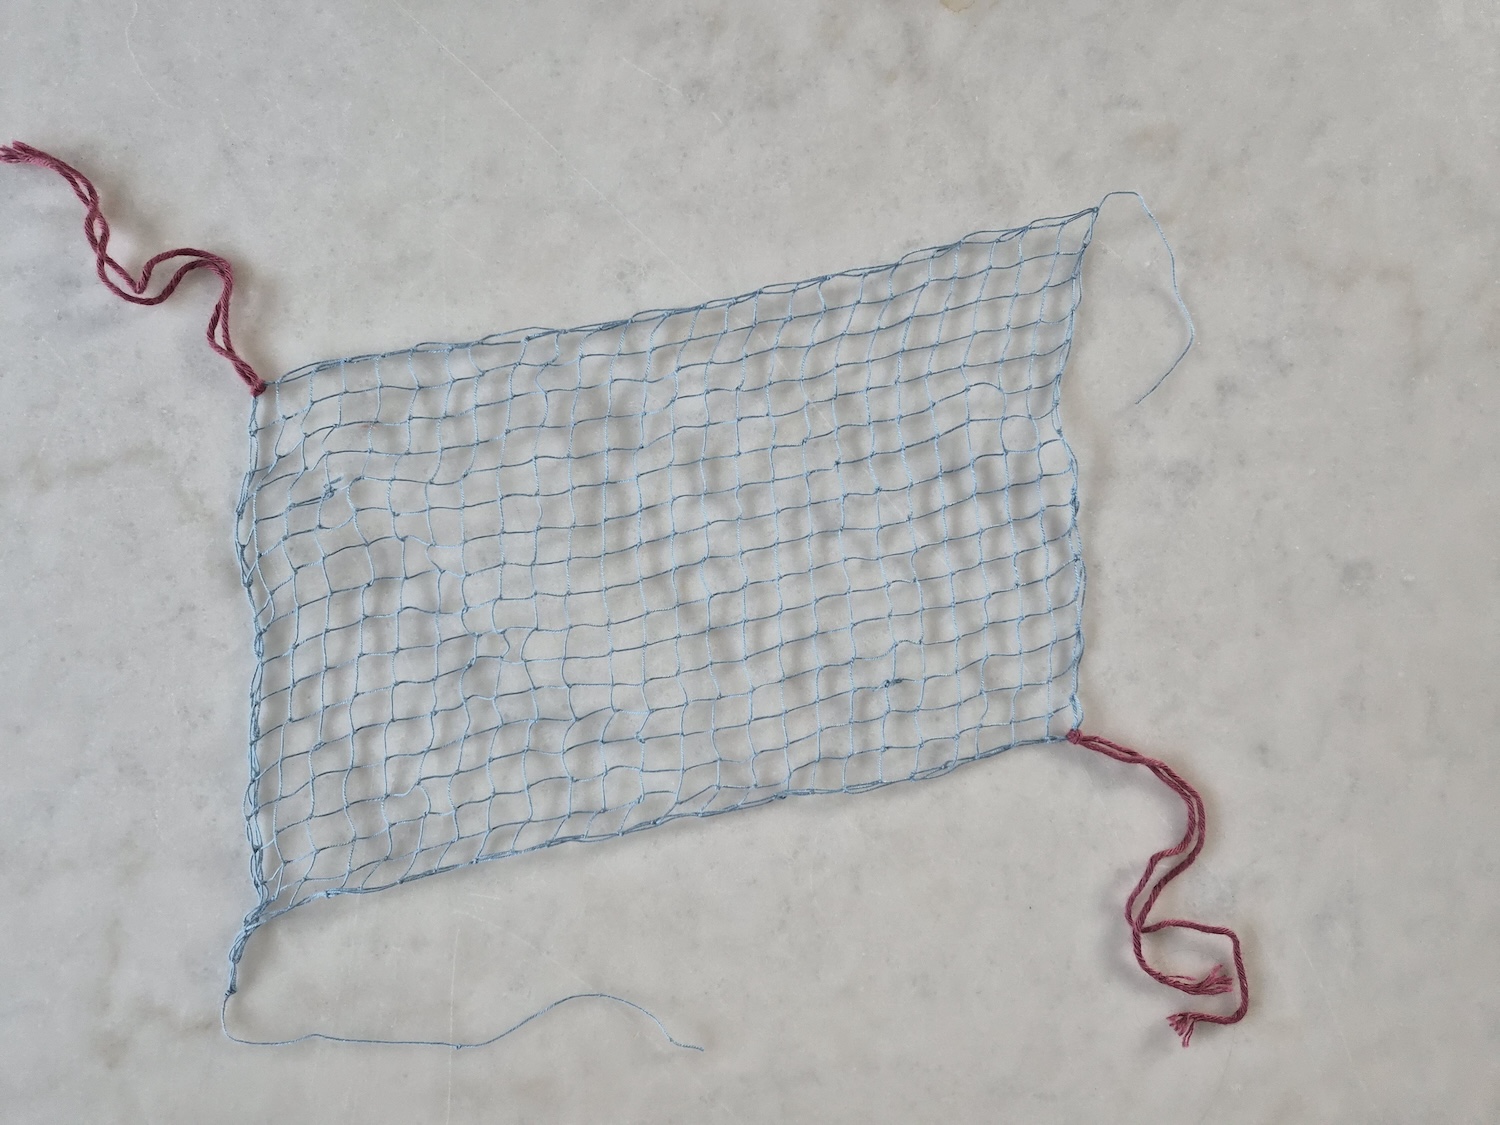
To date I’ve yet to make the threaded/embroidery/stiching on top of a net, which will be the next foray into this craft. For now, I’m just pleased I can actually tie a decent looking net!
Video instructions on net tying
Resources well worth visiting to grasp the technique:
- This playlist has a collection of instructional videos on how to tie the nets: Net Lace Making - Filet, Lacis.
- Anna F on YouTube has Italian videos showcasing tying nets and adding motifs through threading
- Louis Saillour has a French-language video called tutoriel FILET-BRODÉ that is so expertly instructional it’s insane. Her clear demonstration of a teqchniue of adding a knot and slipknot at the start of a project to later tie off the project is genious and removes the need for a lot of extra threads. I don’t speak a lick of French and got so much out of it!
- The Brazilian channel Confraria do Filé by Maria Bispo Silva Monti has a wide variety of videos showcasing the embroidery techniques.
- Sally Pointer’s video on tying a net in the round uses the fishing net technique of two separate motions to create the loop and knot, but is a fascinating watch and helps grasp the two elements of the smaller nets: Making a net bag for a Roman Legionary.
- Knotting Knots on YouTube has a video called Round Net Making - How to Make a Round Net or Making a Round Net Bag that is also helpful to grasp the technique of how the loop to knot works