Band weaving: First tries with a rigid heddle
- Tool: Rigid heddle (x2 different sizes)
- Yarn 1st band: 100% Acrylic multi-colour cookie from Järbo
- Yarn 2nd band: Mercenised 8/4 cotton yarn Nya Emma, x2 colours from Falkgarn
I’ve been craving getting into rigid heddle weaving for quite some time, eying toolkits but not really knowing where to get started and fearing I’d invest in the wrong type. As luck would have it I snagged two heddles off an online auction and thereby ran out of excuses not to try.
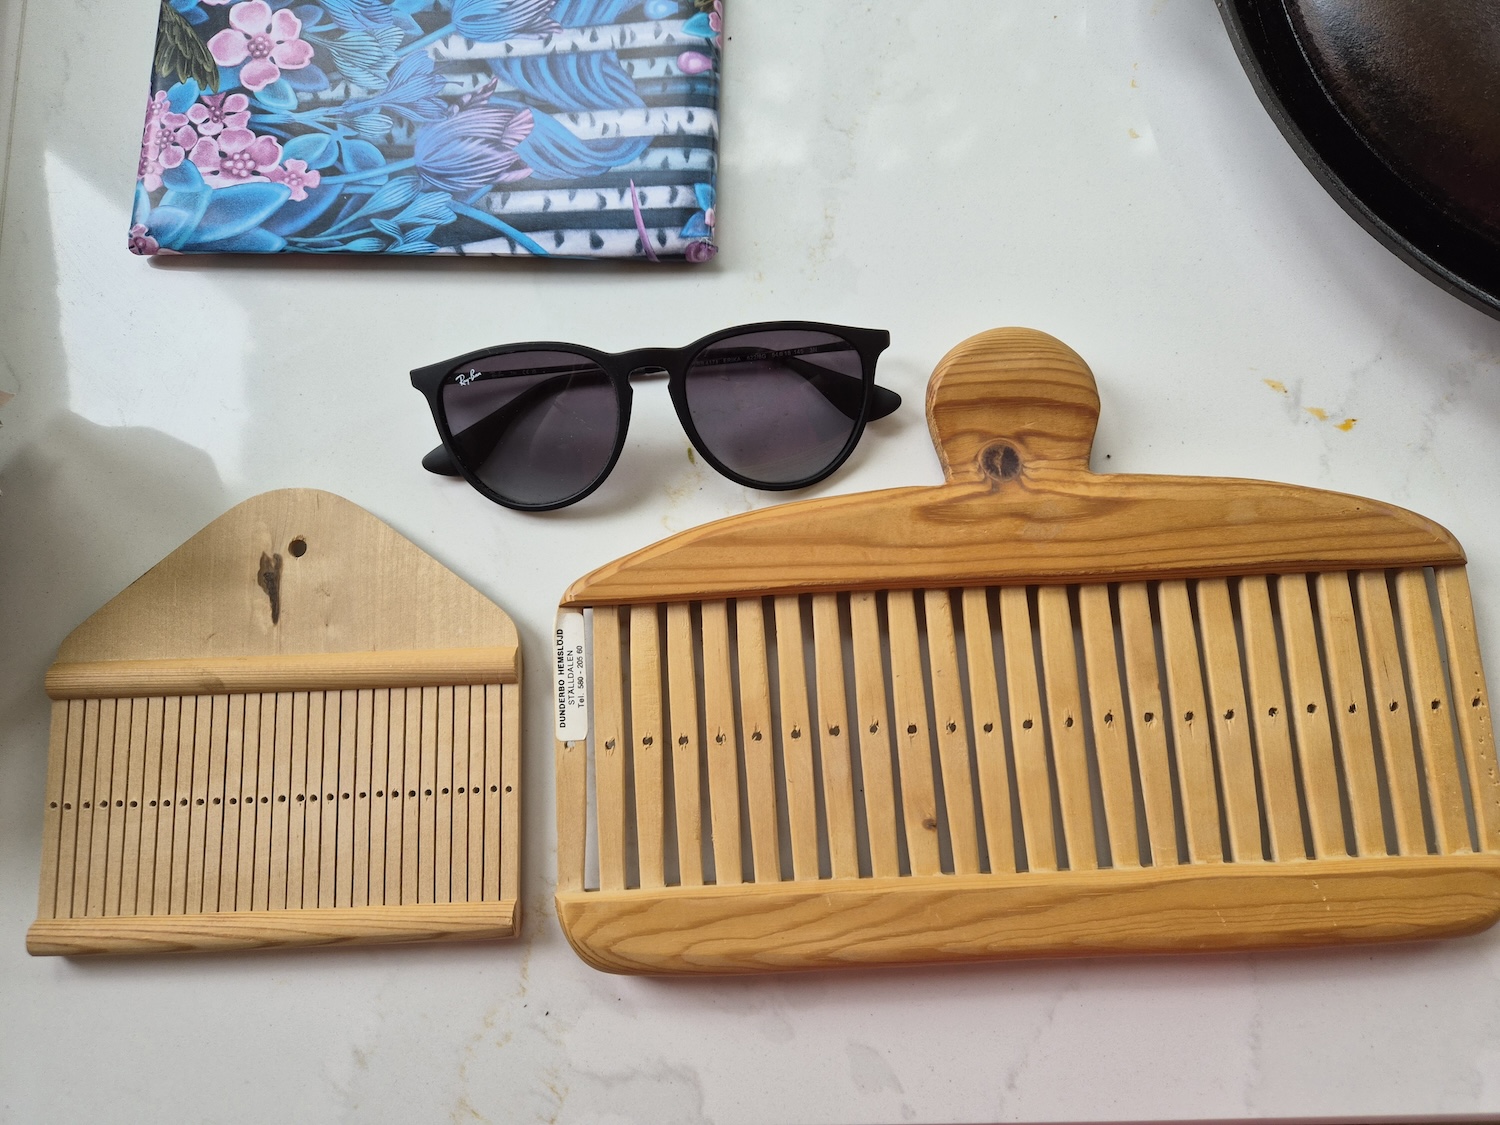
The tools
- Rigid heddle - the slits and slots/holes need to be big enough for the thread to pass through without chafing the thread too much.
- Yarn of appropriate length and weight. For one of the heddles I had to use a very fine crochet hook and needle threader to get the yarn on to it.
- Shed sticks to have on the opposite end of the rigid heddle, away from you. These will help keep threads orderly.
- A holder of the end of the band, most far away from you. I used a bag clip to hold the ends, and wedged between two heavy books to stretch the threads in one attempt, and tied to my staircase in the other.
- A holder close to your body to hold the ends of the band as you’re weaving it. Preferably a belt or cord. You’ll want to move this to tighten and move the work closer to you (for better reach) as your weaving progresses.
- A shuttle to pass the thread. Can be done by passing through the (flattened out) ball of yarn or a homemade one out of a stick or lolly stick.
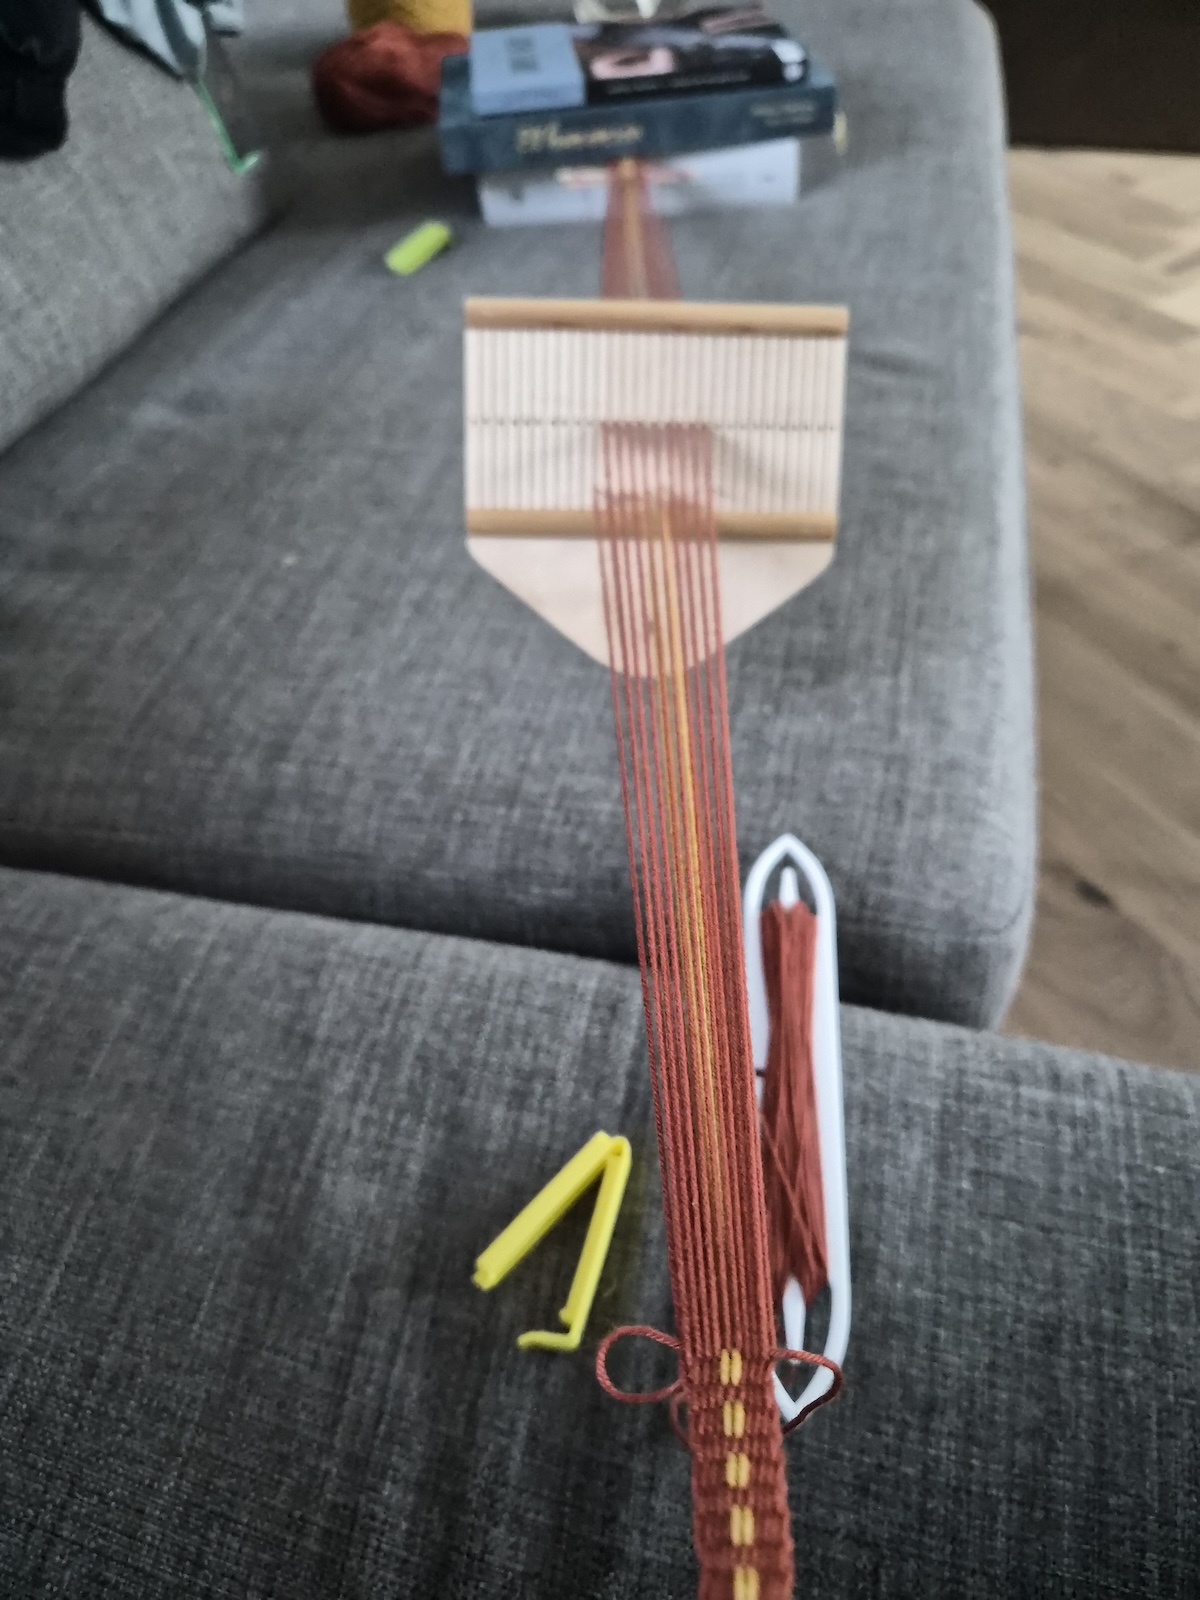
The technique
Getting to know the basics of the technique I did two bands with warp faced rep weave. This means that the threads are pulled in tight and completely cover the weft, and you get a slight bubbly effect.
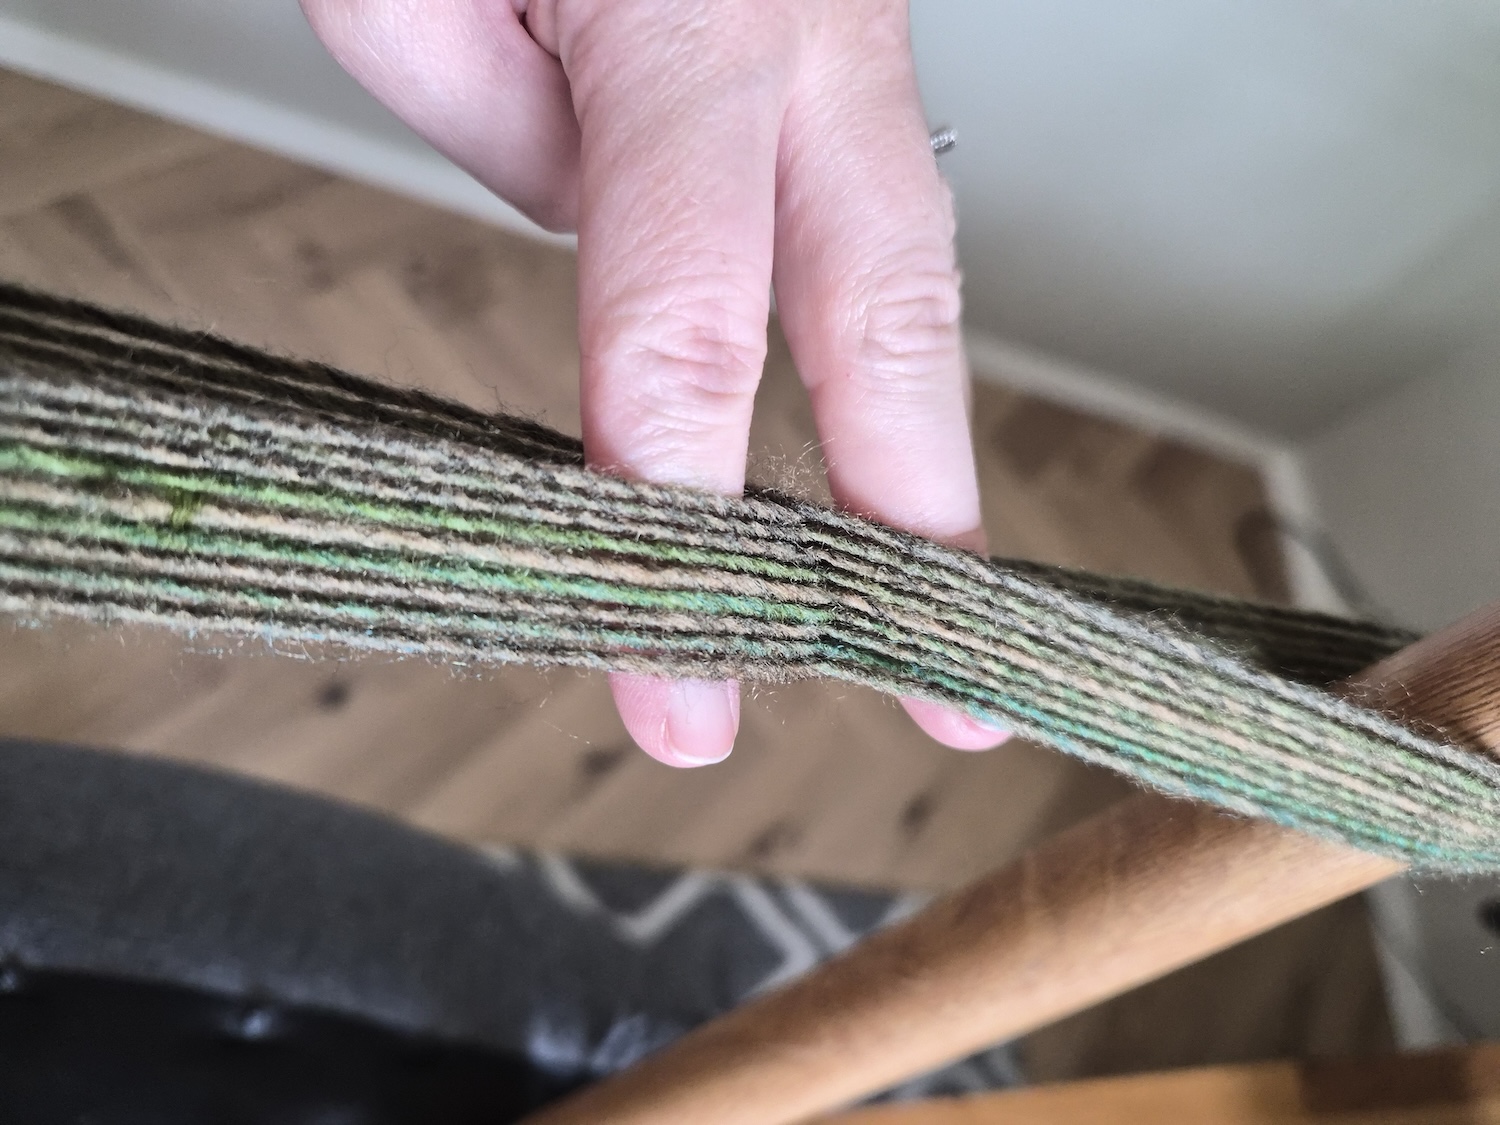
My first attempt didn’t utilise any specific design, and slight colour gradient happening is due to the type of yarn used.
By the time I attempted the second band, my copy of Simple weave: Weave without a large loom by Kerstin Neumüller (I grabbed the Swedish version but it’s also available in English! 10/10 can recommend, simple and cover many different weaving styles) had arrived by post. I picked a pattern from the book for design and a lot of more technical understanding of what I was supposed to be doing.
Warping
I tried two different techniques for warping the threads. One was in a figure eight over chair legs for the first, longer band. The shed sticks were easily added before cutting off one end (adding the end of the loops to the holder) and warping the heddle was easy. If you have to do a specific order for the yarn I would imagine this is trickier as you’d have to warp the correct order and switch between yarns.
The other technique was by warping around a table top, tying off, adding the shed sticks, and cutting one end. This produced lengthier yarn and meant I could add both colours without thought to order and sort that as I was adding the shed sticks (manually weaving up/down through the threads).
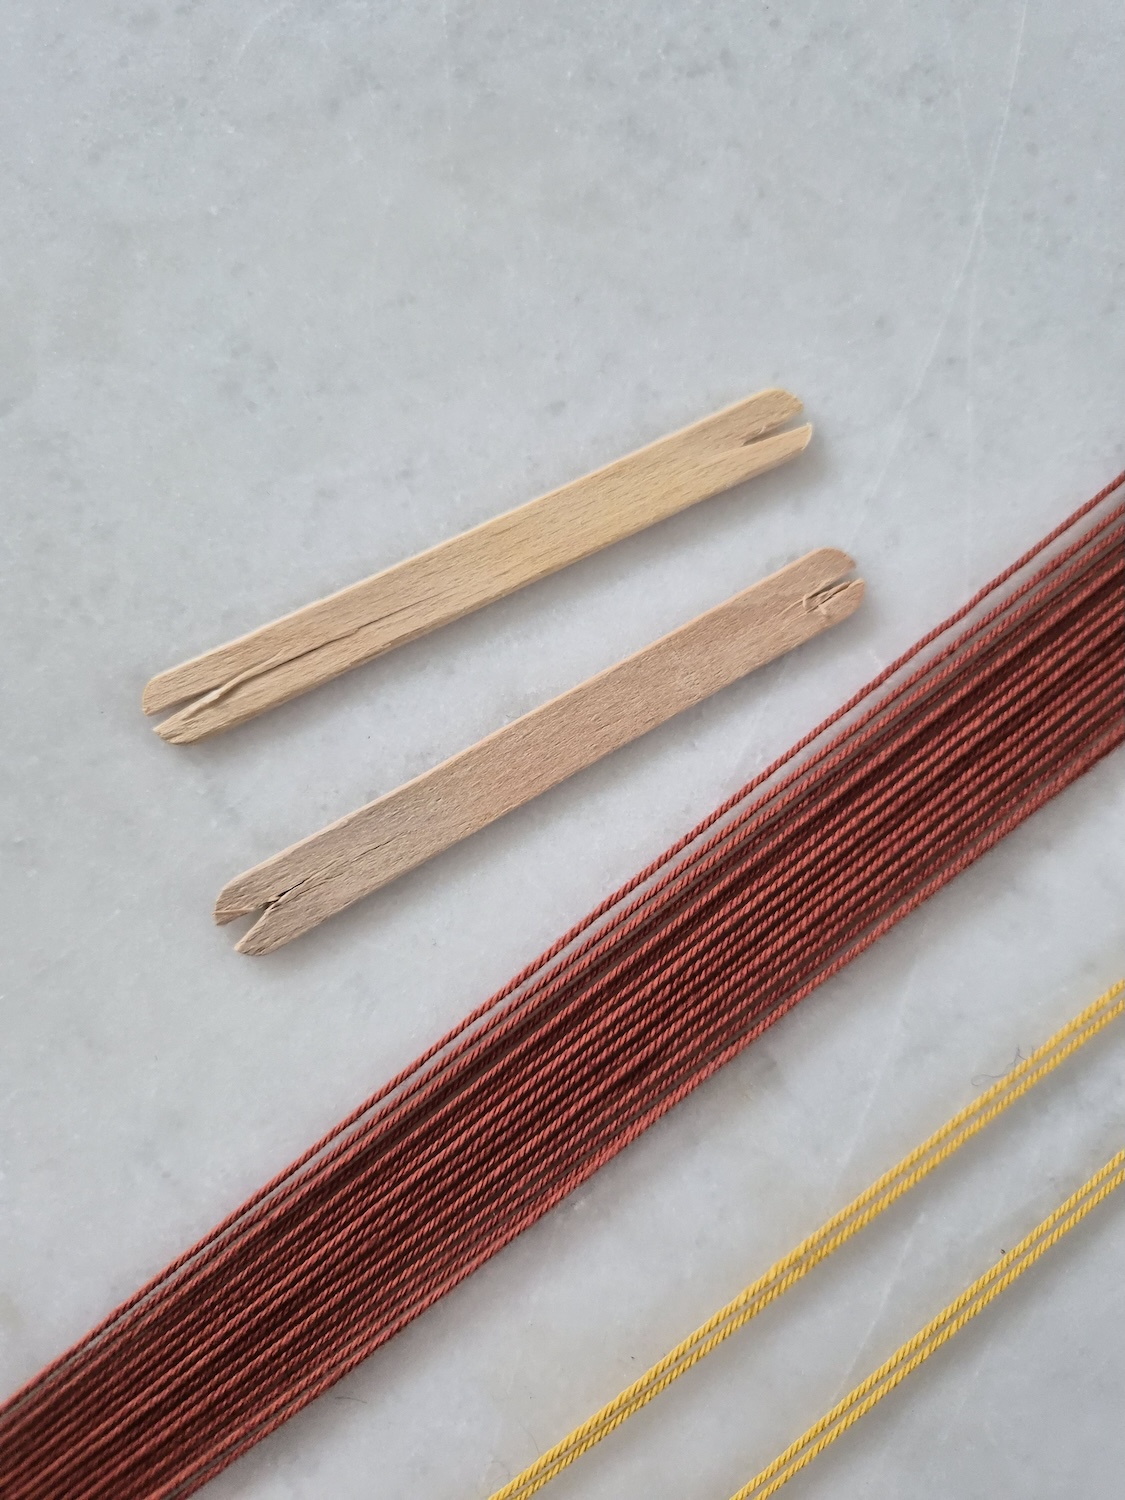
Weaving
Rigid heddle weaving in this setup is done as a plain weave. It means alternate threads go up and down. The heddle holds one row firmly in place, and the threads in the slots move up/down as you move it. This opens a shaft where the shuttle with the weft (innermost thread that “secures” the weave) is passed.
I bought a double sided netting shuttle from Nordic Design which I wound the yarn up on in a figure eight motion. It is helpful to have a shuttle to help open the shaft and further lift or push threads that aren’t behaving. It also replaces the “beater” you have on a proper loom to help push the weft into place.
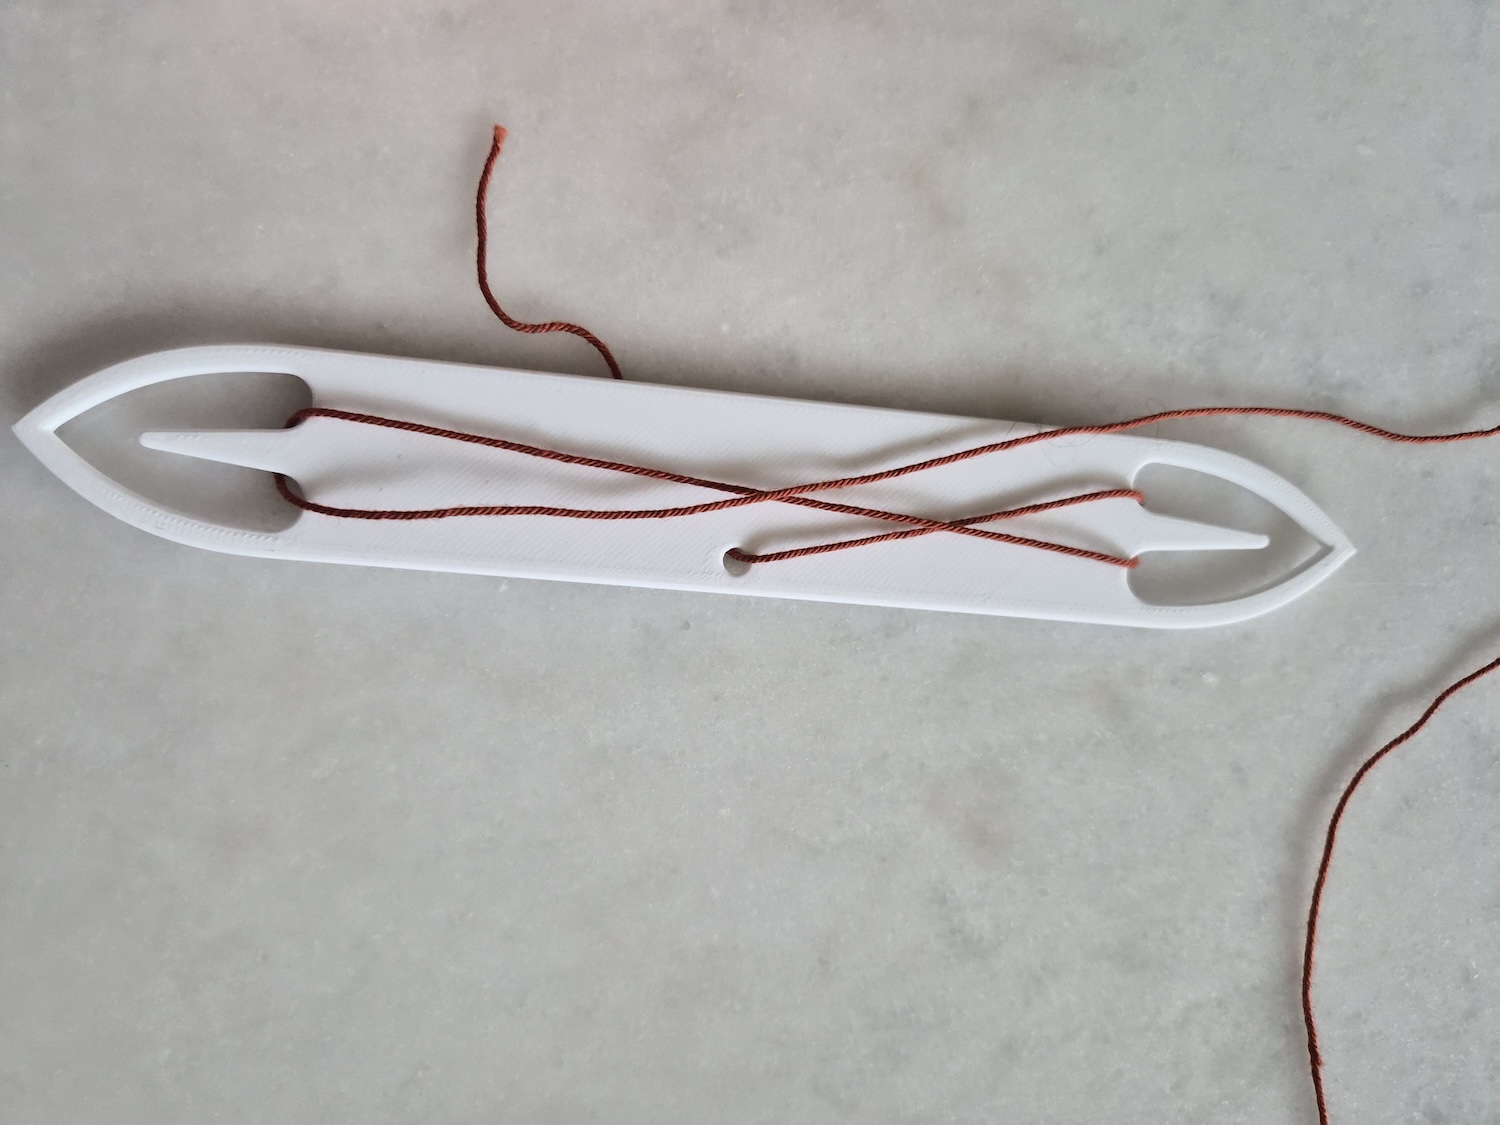
The basic technique for weaving is:
- Bring heddle “up” to open the shaft
- Use shuttle to push the previous row’s weft, pull closed the previous row’s weft.
- Pass the shuttle through and pack the thread as close to the shaft as possible, but don’t pull the full thread through (leave a little loop)
- Bring heddle “down” to close the shaft and open the next shaft
Repeat the steps 2-3 and alternate brinding the heddle up and down.
Weaving in the weft ends
Starting, you leave a tail of the weft and work the first 3-4 rows of the weave to overlap the end with the weft on the shuttle. This way, the staring point of the band is secured from the start.
When you come to the end of the band, to create the same effect, you can use threads to pull through the weft end.
For the final five rounds, add loose thread like little loops. Once the final round is completed, cut the weft farily long, and thread through the first loop. Let the loop catch the end, and don’t pull too much through. Then, pull through the loop yarn so it brings the weft yarn with it. On to the next loop.
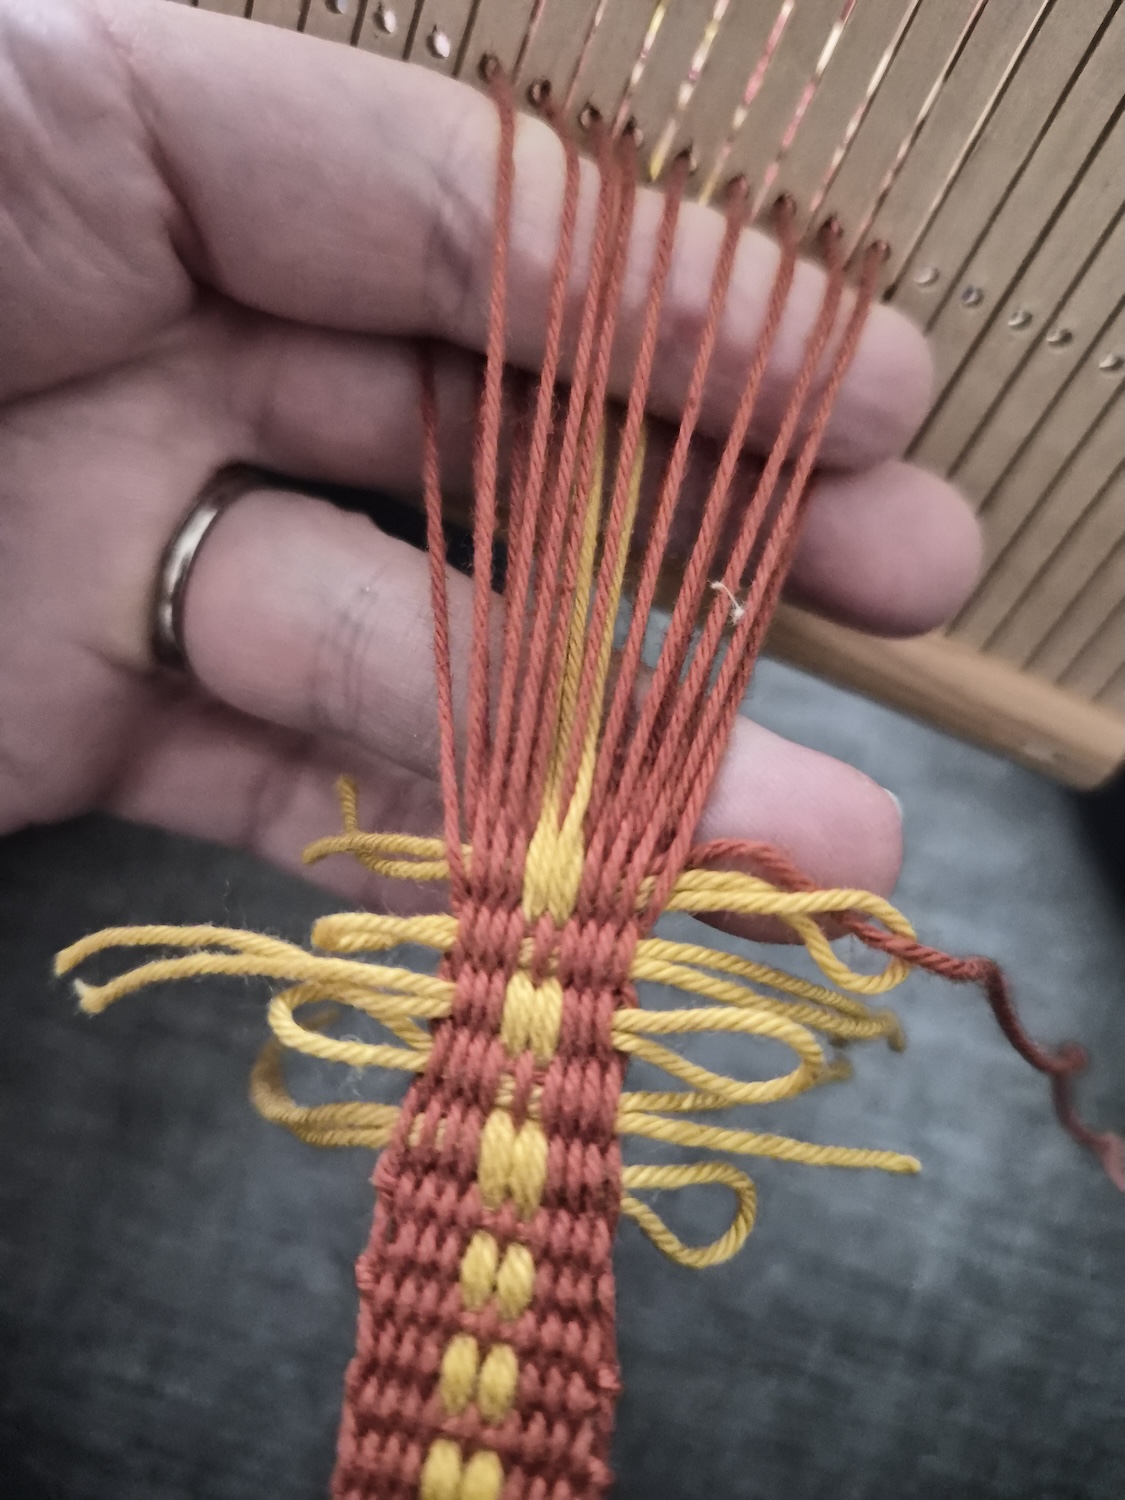
The recommendation was an uneven number of loops, and I’m sure there was mention of starting direction so the weft is figure-eighting itself inside the weave, though I can’t wrap my head around exactly how/where to start for that…
Update! I found the video which had this tip: Finishing a narrow band so it won’t unravel
The results
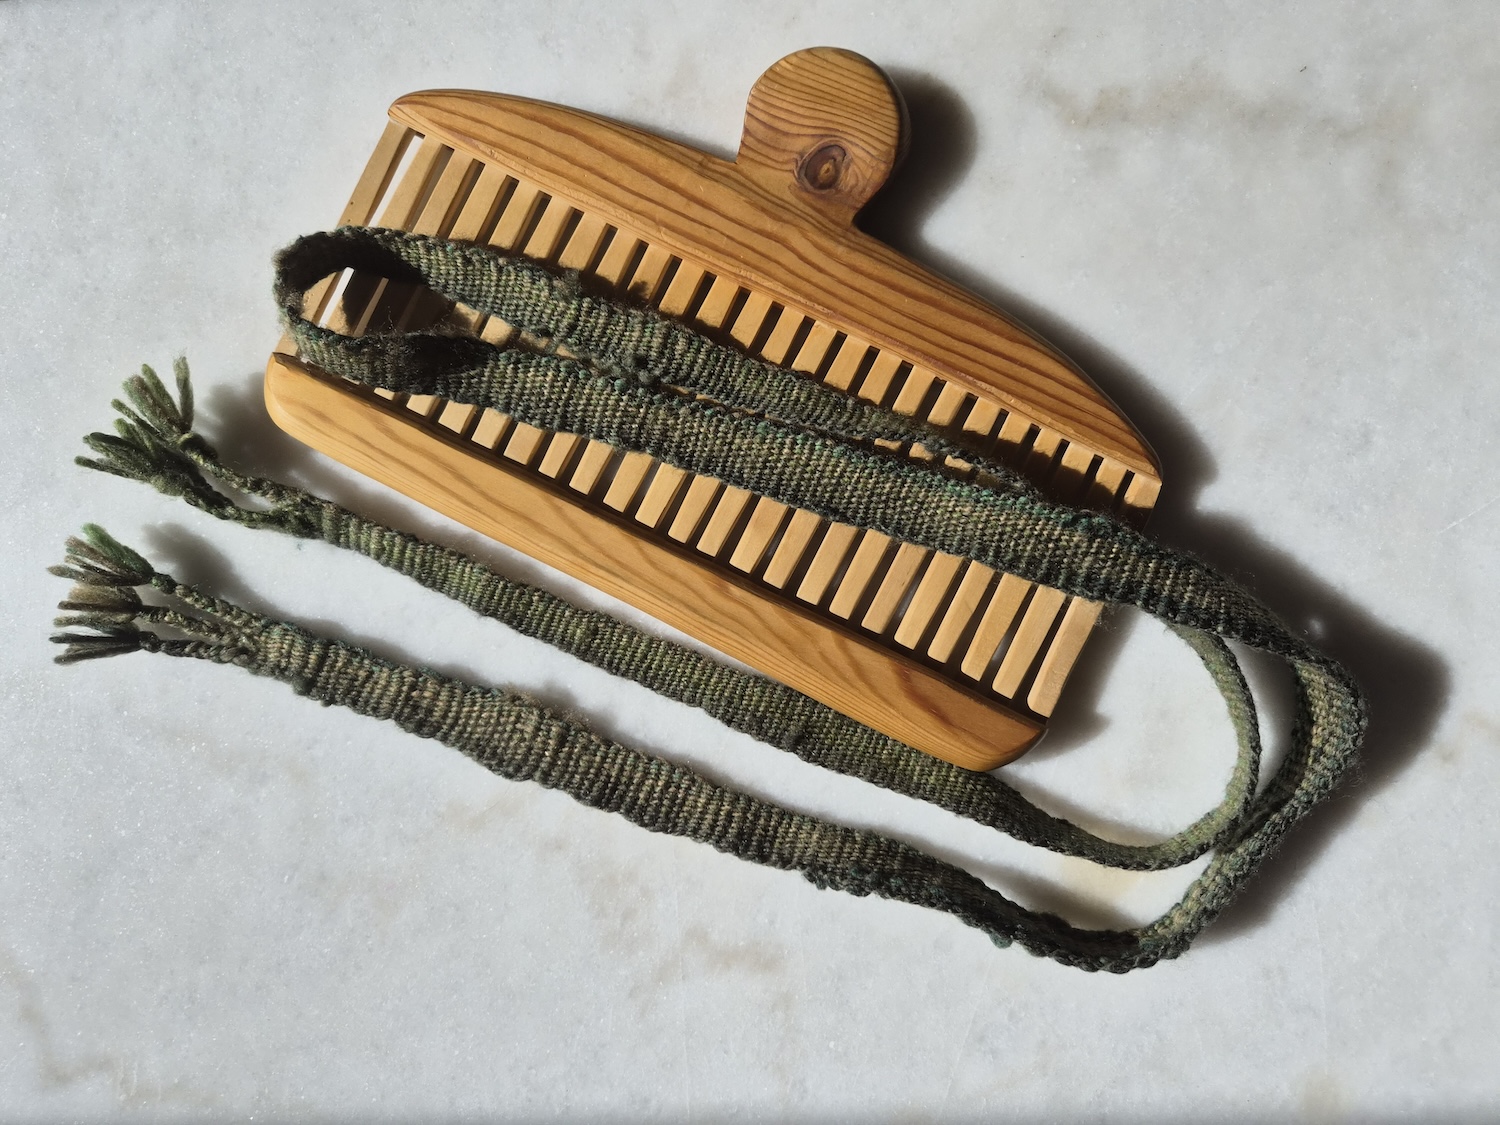
All in all, I’m pleased with both of them! Just getting going on the first and failing a few of the technical bits straight away is still a win in my book. I have a belt that is super useful for crafting (used it to make the second one and for other crafts where I need to stretch warp/thread similarly) and the colours remind me a bit of a swamp lizard.
Solving six threads breaking up (before I stopped counting) was a good challenge and another way to fail early and learn something useful for future instances where I may have a more precious project on the heddle.
Prep took perhaps an hour, weaving around five, and final touches around an hour. I did it in two sittings.
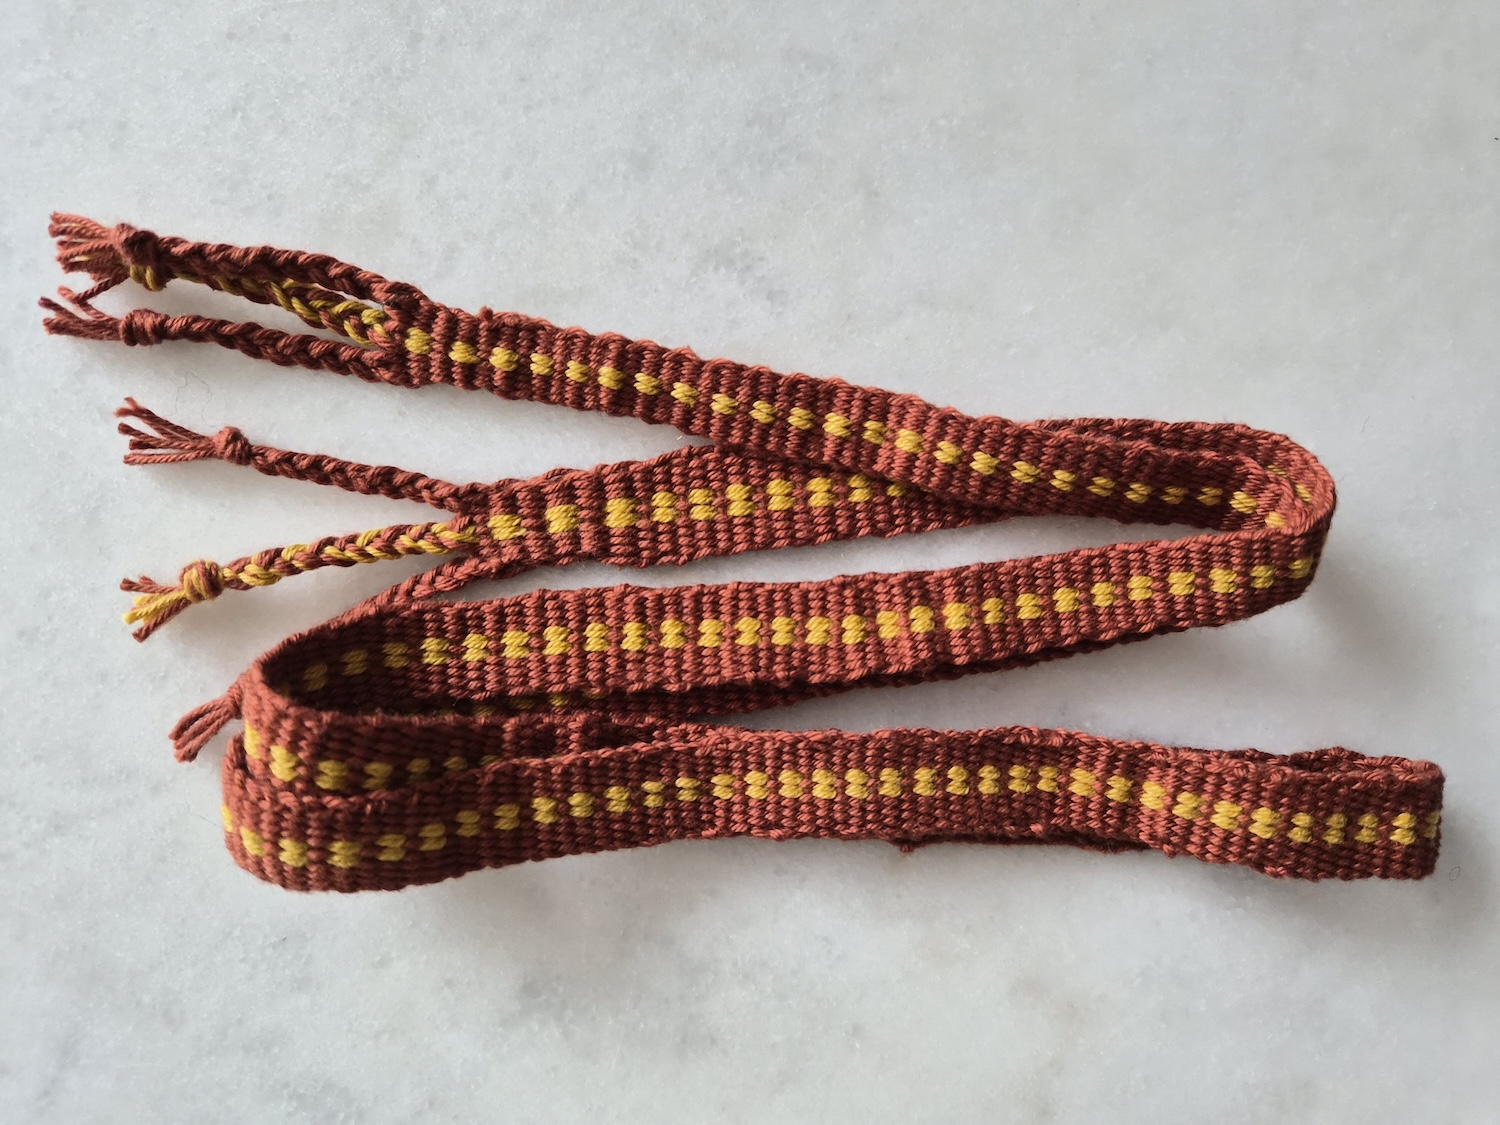
The second band was shorter, quicker, and much easier thanks to the choice of yarn. It also looks much better and more even. I’d say around thirty minutes prep, four hours on the heddle and to do the finishing touches. I could have pushed to complete it in one sitting, but did it in two.
Learnings
- You need an uneven number of strands to make sure the border and “frame” works out nicely. I put the “core” threads in the holes and framed them in the slots so the slots framed the outermost hole threads one on each side (left & right).
- Yarn/thread matters a lot. Working with the 2-ply mercenised cotton was by far easiest and I had no breakages whatsoever. Single strand or slightly fluffy will chafe as the shed changes positions and cause breakage much more easily. It also made the thread looser so it didn’t hold it’s shape quite as well (sections of the band are uneven in width due to this)
- It was tricky getting the tension right for the width of the band. It’ll take more practice to get right and not “pull” the weave too tigh while still being able to maintain the same look throughout the full band length.
- Designs are fun, and the design on rep weave based on just the warp threading pattern is a super easy way to elevate it!
- For the final technique of pulling the weft back into the band to seal it in will likely look better if thinner threads are used.
For future bands, I’d like to explore prettier ways to finish them off and also look at pick-up band weaving techniques with more intricate designs.