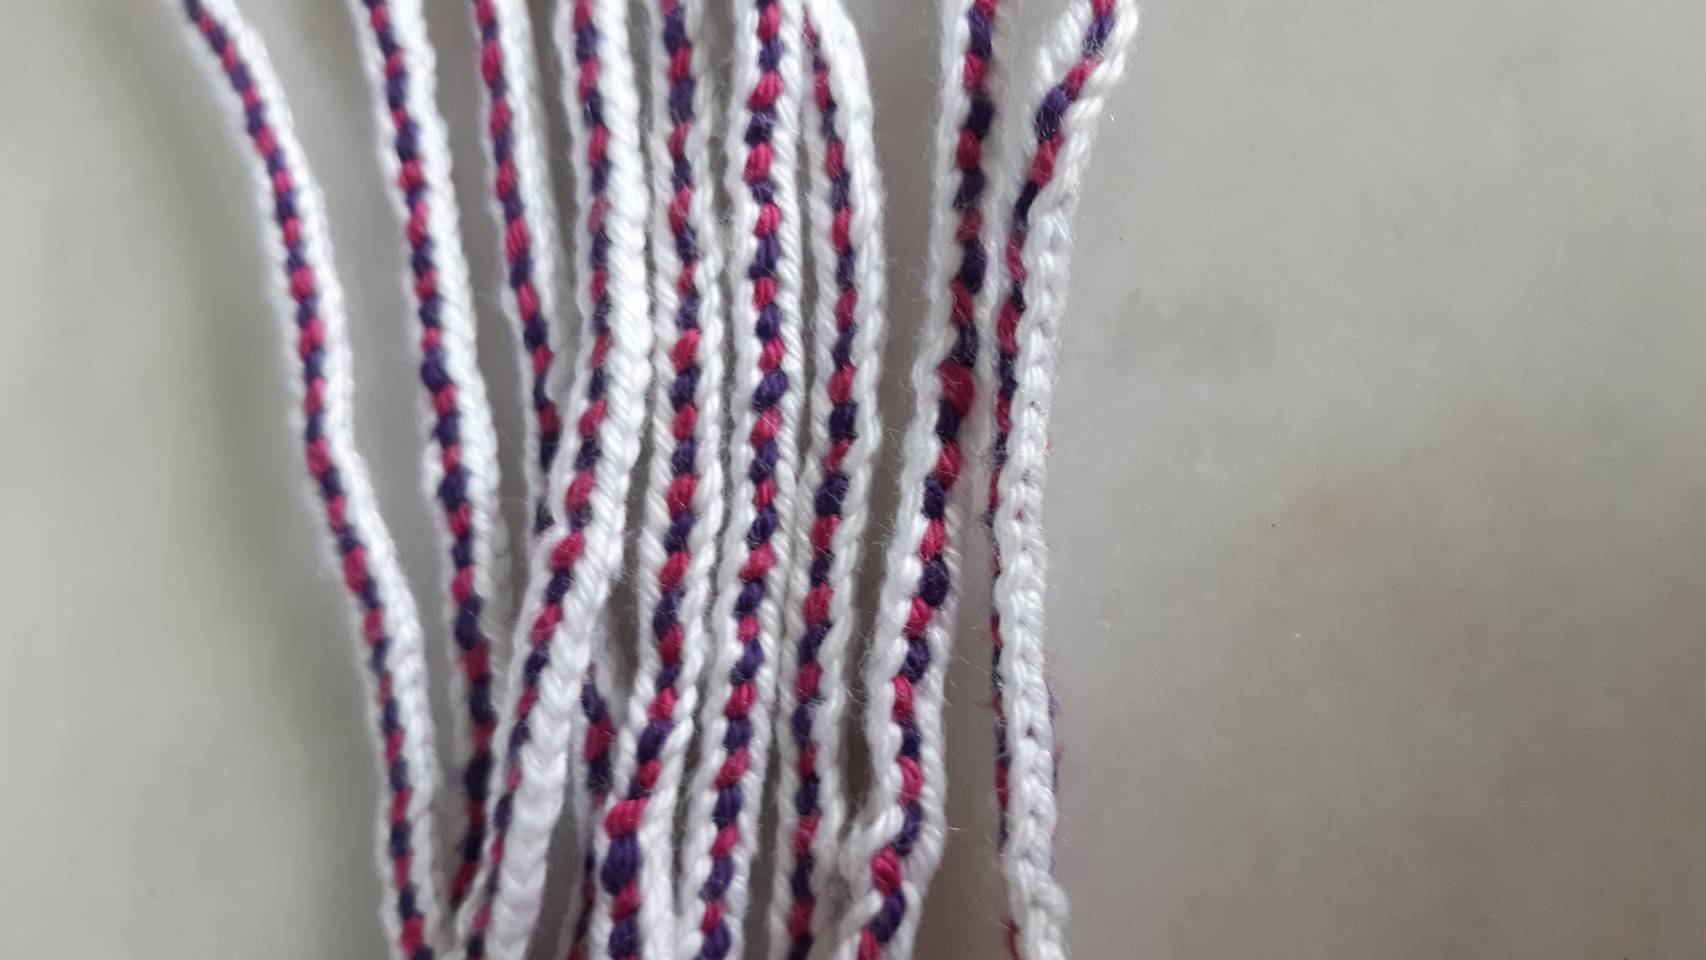
Lucet cord: outer cord with alternating coloured inner strands
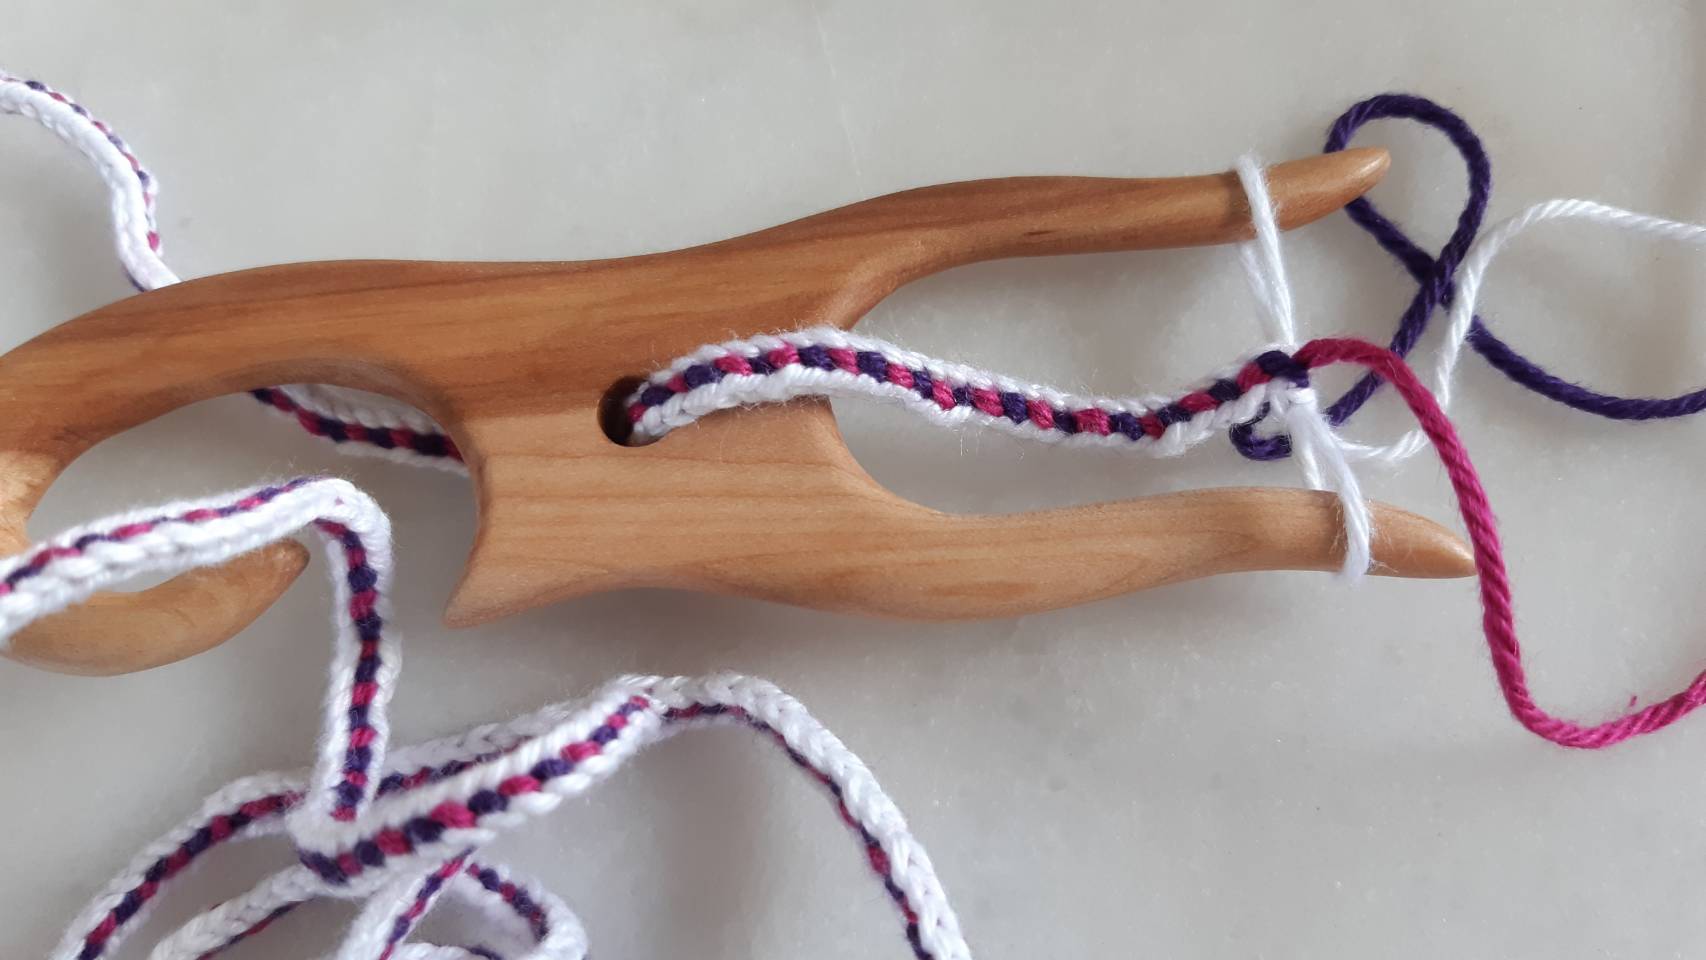
- Tool: Lucet
- Yarn: Cotton yarn, three different colours. White for the border and purple and pink for the inner two strands. A chunkier yarn is easier to work with.
I picked up a hand carved wood lucet at a medieval fair in Stockholm back in April, 2025, and hunted around YouTube to find instructional videos of how to use it. This particular cord was inspired by this Youtube video:
The basics is reminicent of using a knitting tool (those big plastic rings with little knobs on them) where you create loops and “build” on the knitting by adding a new loop and hooking over the old one.
It was quite tricky getting the hang of keeping the yarn taut but not too tight (it makes it really difficult to get the old loop over the new loop).
The technique
I’m right handed. For me, I hold the lucet in my left hand and manipulate the yarn with my right.
The border
The basics of creating the white part of this lucet cord is:
- Create a slipknot with the main yarn (the border colour).
- Hook it onto one of the lucet prongs and keep the loop large.
- Turn the lucet to face you so the loop is on the right hand side and the tail of the loop faces inwards toward the middle of the lucet.
- Take the long tail of the yarn and loop it once around both prongs, starting with coming around the back of the left prong and ending up above the loop on the right prong (from front, facing back).
- On the right prong, take the bottom loop (slipknot) and slip it upwards over the prong, leaving the newly formed loop on the prong.
- Pull on the long tail of the cord to stabilise the size of the loop (if it’s tricky, you can pull on one of the bits of the loop on the left prong which helps adjust the size) so that the emerging cord is tightened but the loops aren’t too tight to manipulate.
- Circle the cord once again on the left prong, but this time loop it around just the left prong: back to front, from the left, and back around so the long tail of the yarn is behind the lucet - making a little loop on just the left prong. Slip the left bottom loop over the new loop and off the prong. Tighten the cord.
- Repeat for the right prong. The long tail of the yarn is at the back of the lucet, so circle via the back to the front (right to left) and back again, creating a little loop, and slip the bottom loop over the top loop. Tighten
To build length is all about repeating steps 7 and 8. The others are to get the cord started.
The colours
To add in the effect of the alternating colours, we’ll employ a weaving effect.
It’s easier to start if there is a bit of cord to work with, so after steps 7 and 8 (one set) outlined above, have been done at least one or two times, we’ll add our colour strands.
- Take one strand in front of the lucet, and the other coloured strand from the back. Keep them parallel with the cord. Leave a few centimeters of unwoven yarn to complete the ends.
- Before starting a new set, when the last loop completed was on the right prong, fold the two strands across the top of the cord. Use your thumb and forefinger on your left hand to stabilise the cord (short ends, and long ends attached to the yarn balls) and coloured strand yarn in the meantime.
- Complete one set of loops, making sure you keep the coloured strands out of the way.
- You can now fold the coloured yarns across the top so they switch places. Pull a bit on the yarn to tighten the work.
Tips:
- Tighten the coloured loops by pulling them upright after each set before switcing again. It’ll make the pattern more consistent and avoid puckering.
- To keep the colour switch looking fairly even, committ to one method and stick to it. For example, always pass the front colour (going back) on the right, and bringing the back colour front on the left.
- You can get variation by completing more sets before switching colours, or alternating the number of sets between colour switches.